Tag Archives: San Diego

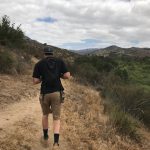
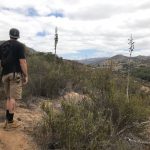
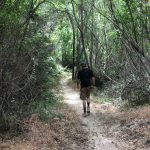
Santa Margarita River Trail, Fallbrook, CA Father’s Day Hike 06/18/2017

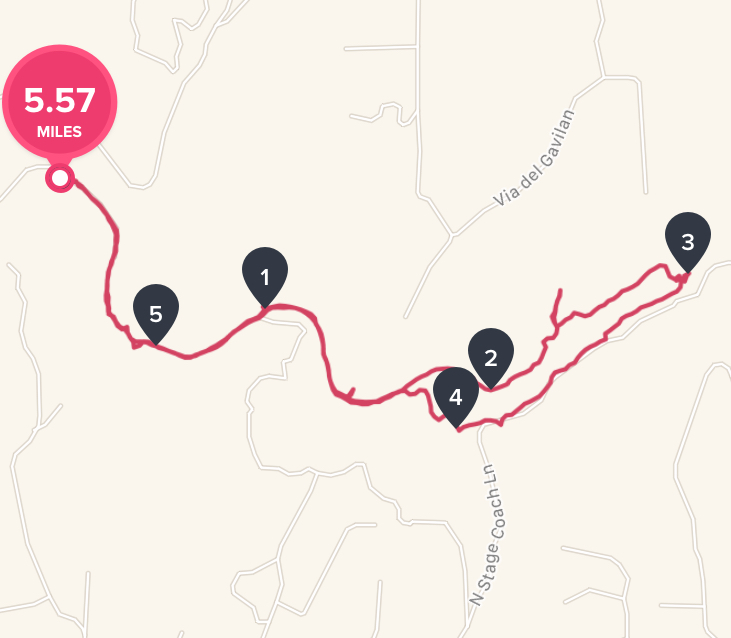
Distance:  6 miles   Elevation Gain: 469′ Date and Time:  Sunday June, 18th  10am to 1pm  Temp:  70’s  Hikeability:  Easy-Moderate  Water & Snack:  1.5 liters, Probar, Orange

Directions to trailhead :   From the coast, take Highway 76 east and turn left on Mission Road, heading north. Take the first left onto Pico Road, which quickly becomes De Luz Road. Veer right onto Sandia Creek Road, and park on the trailhead just before the bridge.
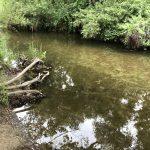
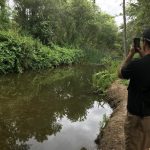
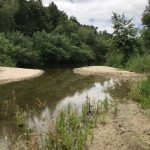
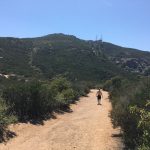
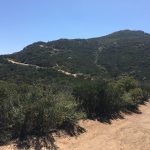
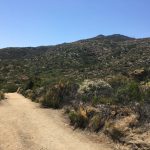
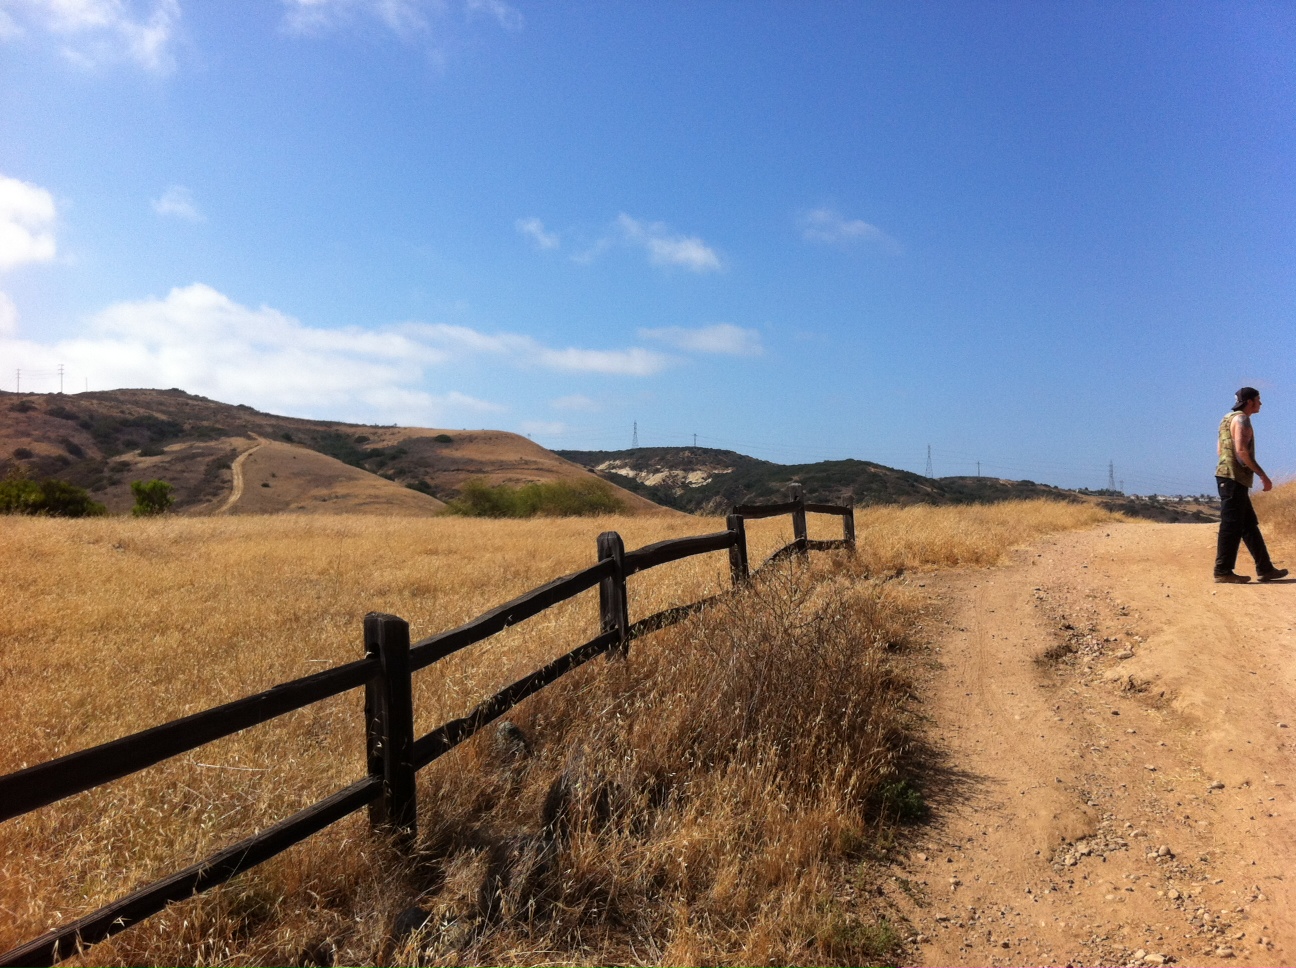
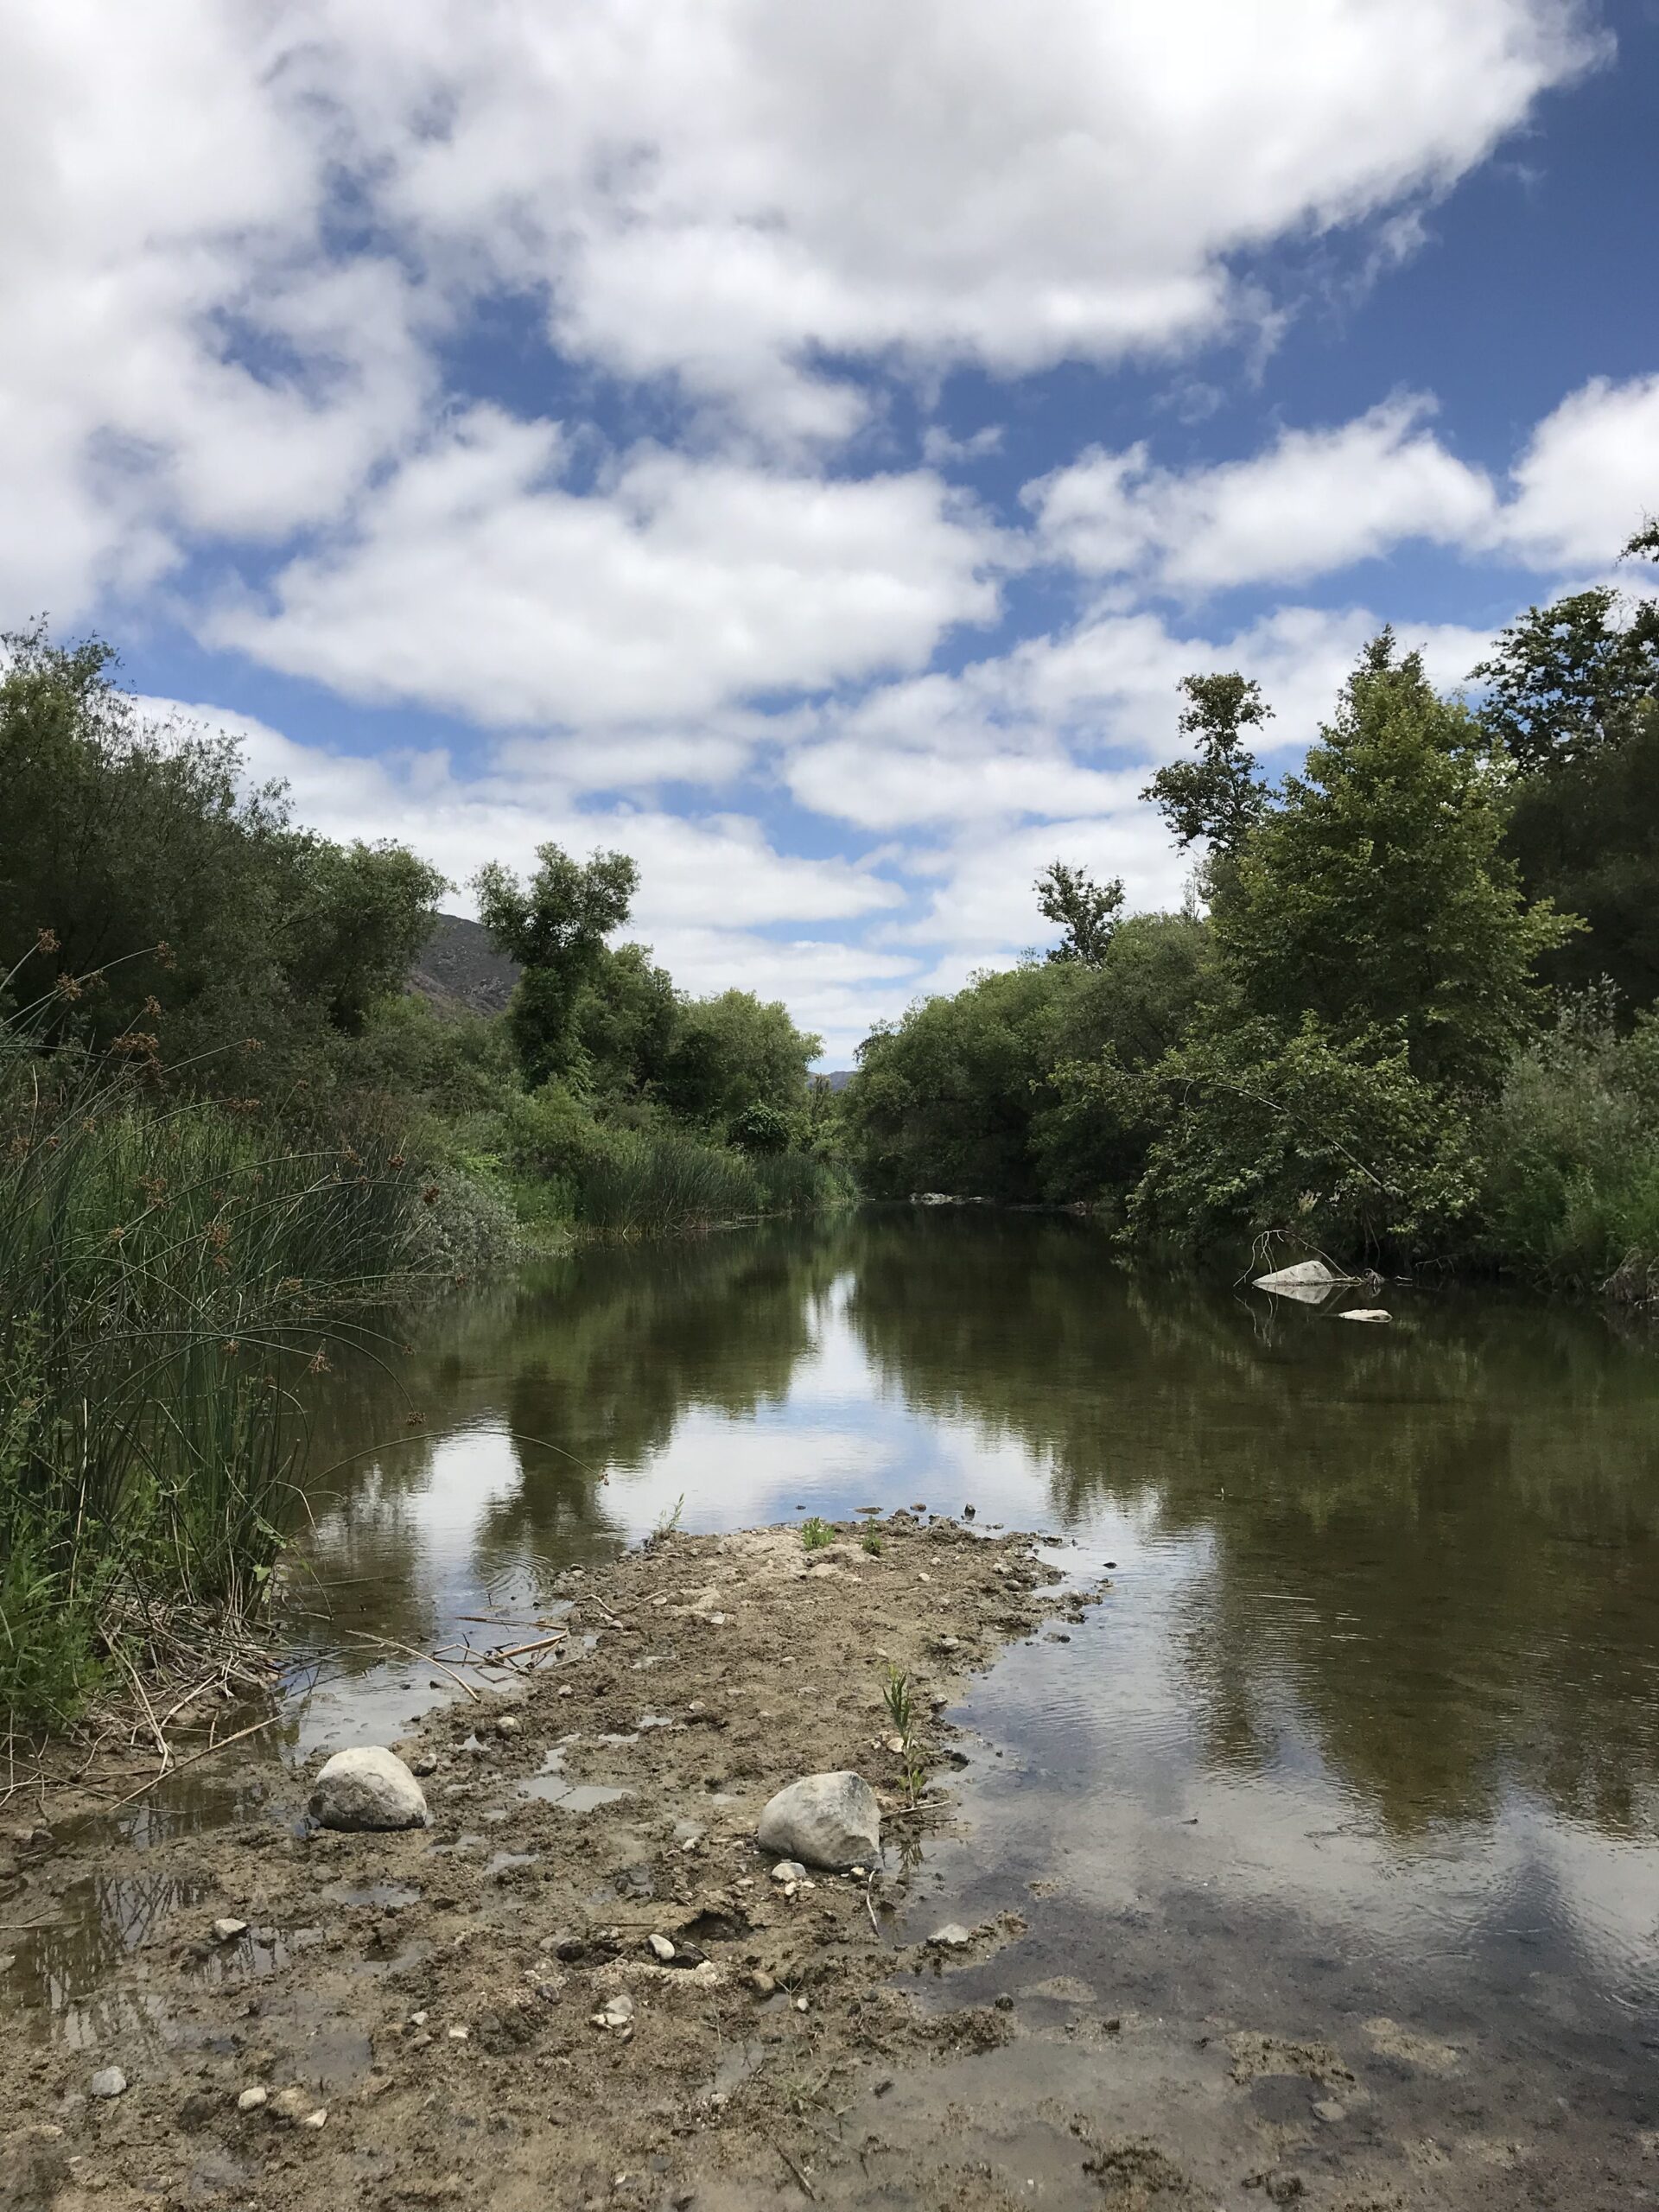
A hike I’ve heard of more about from the local hiking community here in the North County section of San Diego is the Santa Margarita River Trail in Fallbrook, CA. This hidden gem of a trail parallels a clean clear slow moving river out into the back country and hills of Fallbrook.  


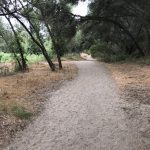
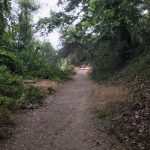
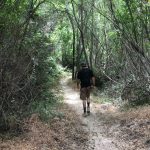
The trail is very well marked, much of the way soft sand with some ares of the trail rock and boulder “hazards” dotted along the way just to add some interest and challenge to this relatively easy trail.  


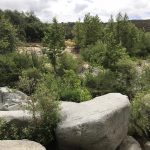
That said, at trails end, you really do feel like you have hiked a much more aggressive trail than what the Santa Margarita River Trail has to offer.   The fun part of this hike is at certain sections  2 miles out you can find “secret” areas that allow you to cross the river with a few rock climbs and bushwhacking (watch out for the Posion Oak)


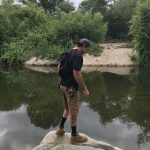
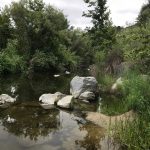
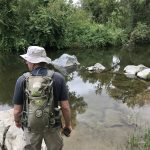
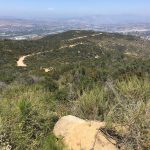
You can  step rock to rock crossing the river leading which will lwad you to the continuation of trail on the other side of the river.  This continuation trail ends further  into the hills and at one point offers you a climb up to a plateau  and sweeping views of the Valley and distant mountains and hills.
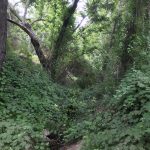


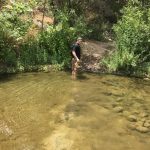
On the way back we had to find a narrow area of the river so the we could cross. We eventually picked a spot that wasn’t too deep, took off our boots, rolled up out pants, and made the adventurous crossing, bare foot and all.  The river is clear, clean nd cooling on the feet.   

Quite refreshing after our previous 3 miles of hiking the trail and up into the hill
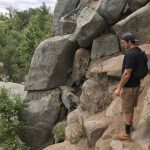


The Santa Margarita River Trail offers two “paths” to hike along, one that gets you closer to the rivers edge and one that is elevated and detours you around thechallenging parts of the river trail.  

Either way, as mentioned earlier, there is plenty of Poison Oak on this trial and from my 6 plus years of hiking San Diego County, the Sant Margarita River Trail has more Poison Oak than on any trail Ive hiked. 

All due respect to the back country of Jullian and Palomar Mountain trails as well 
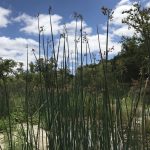


A fun landmark along the way back at about mile 4 on the upper section of the trail was an old rusted out automobile hull, I’m guessing was at least 40 years old due to its all steel chassis (including the steering wheel) conuctrustion, bumper and all.  

The rusted hull of a vehicle makes for great photo opportunities and discovery.

 

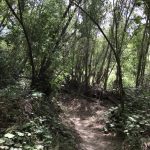
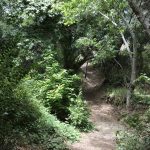
The Santa margarita River Trail also is lined with beautiful green vegetation, oaks and other vine like flour and fauna, making some of this trail feel lie a jungle hike amidst lush tropical dense rai forest like atmosphere. The trail back is quick and before you know it you will be back at the gated trailhead and the parking lot.  

I always like finding new hiking spots and trails in a county we are so fortunate to have lots of diverse and beautiful hiking trails.

As always, don’t hike alone, respect your own limits, respect your partners limits, bring more water than you need and most important….have Fun!…Hike on! 
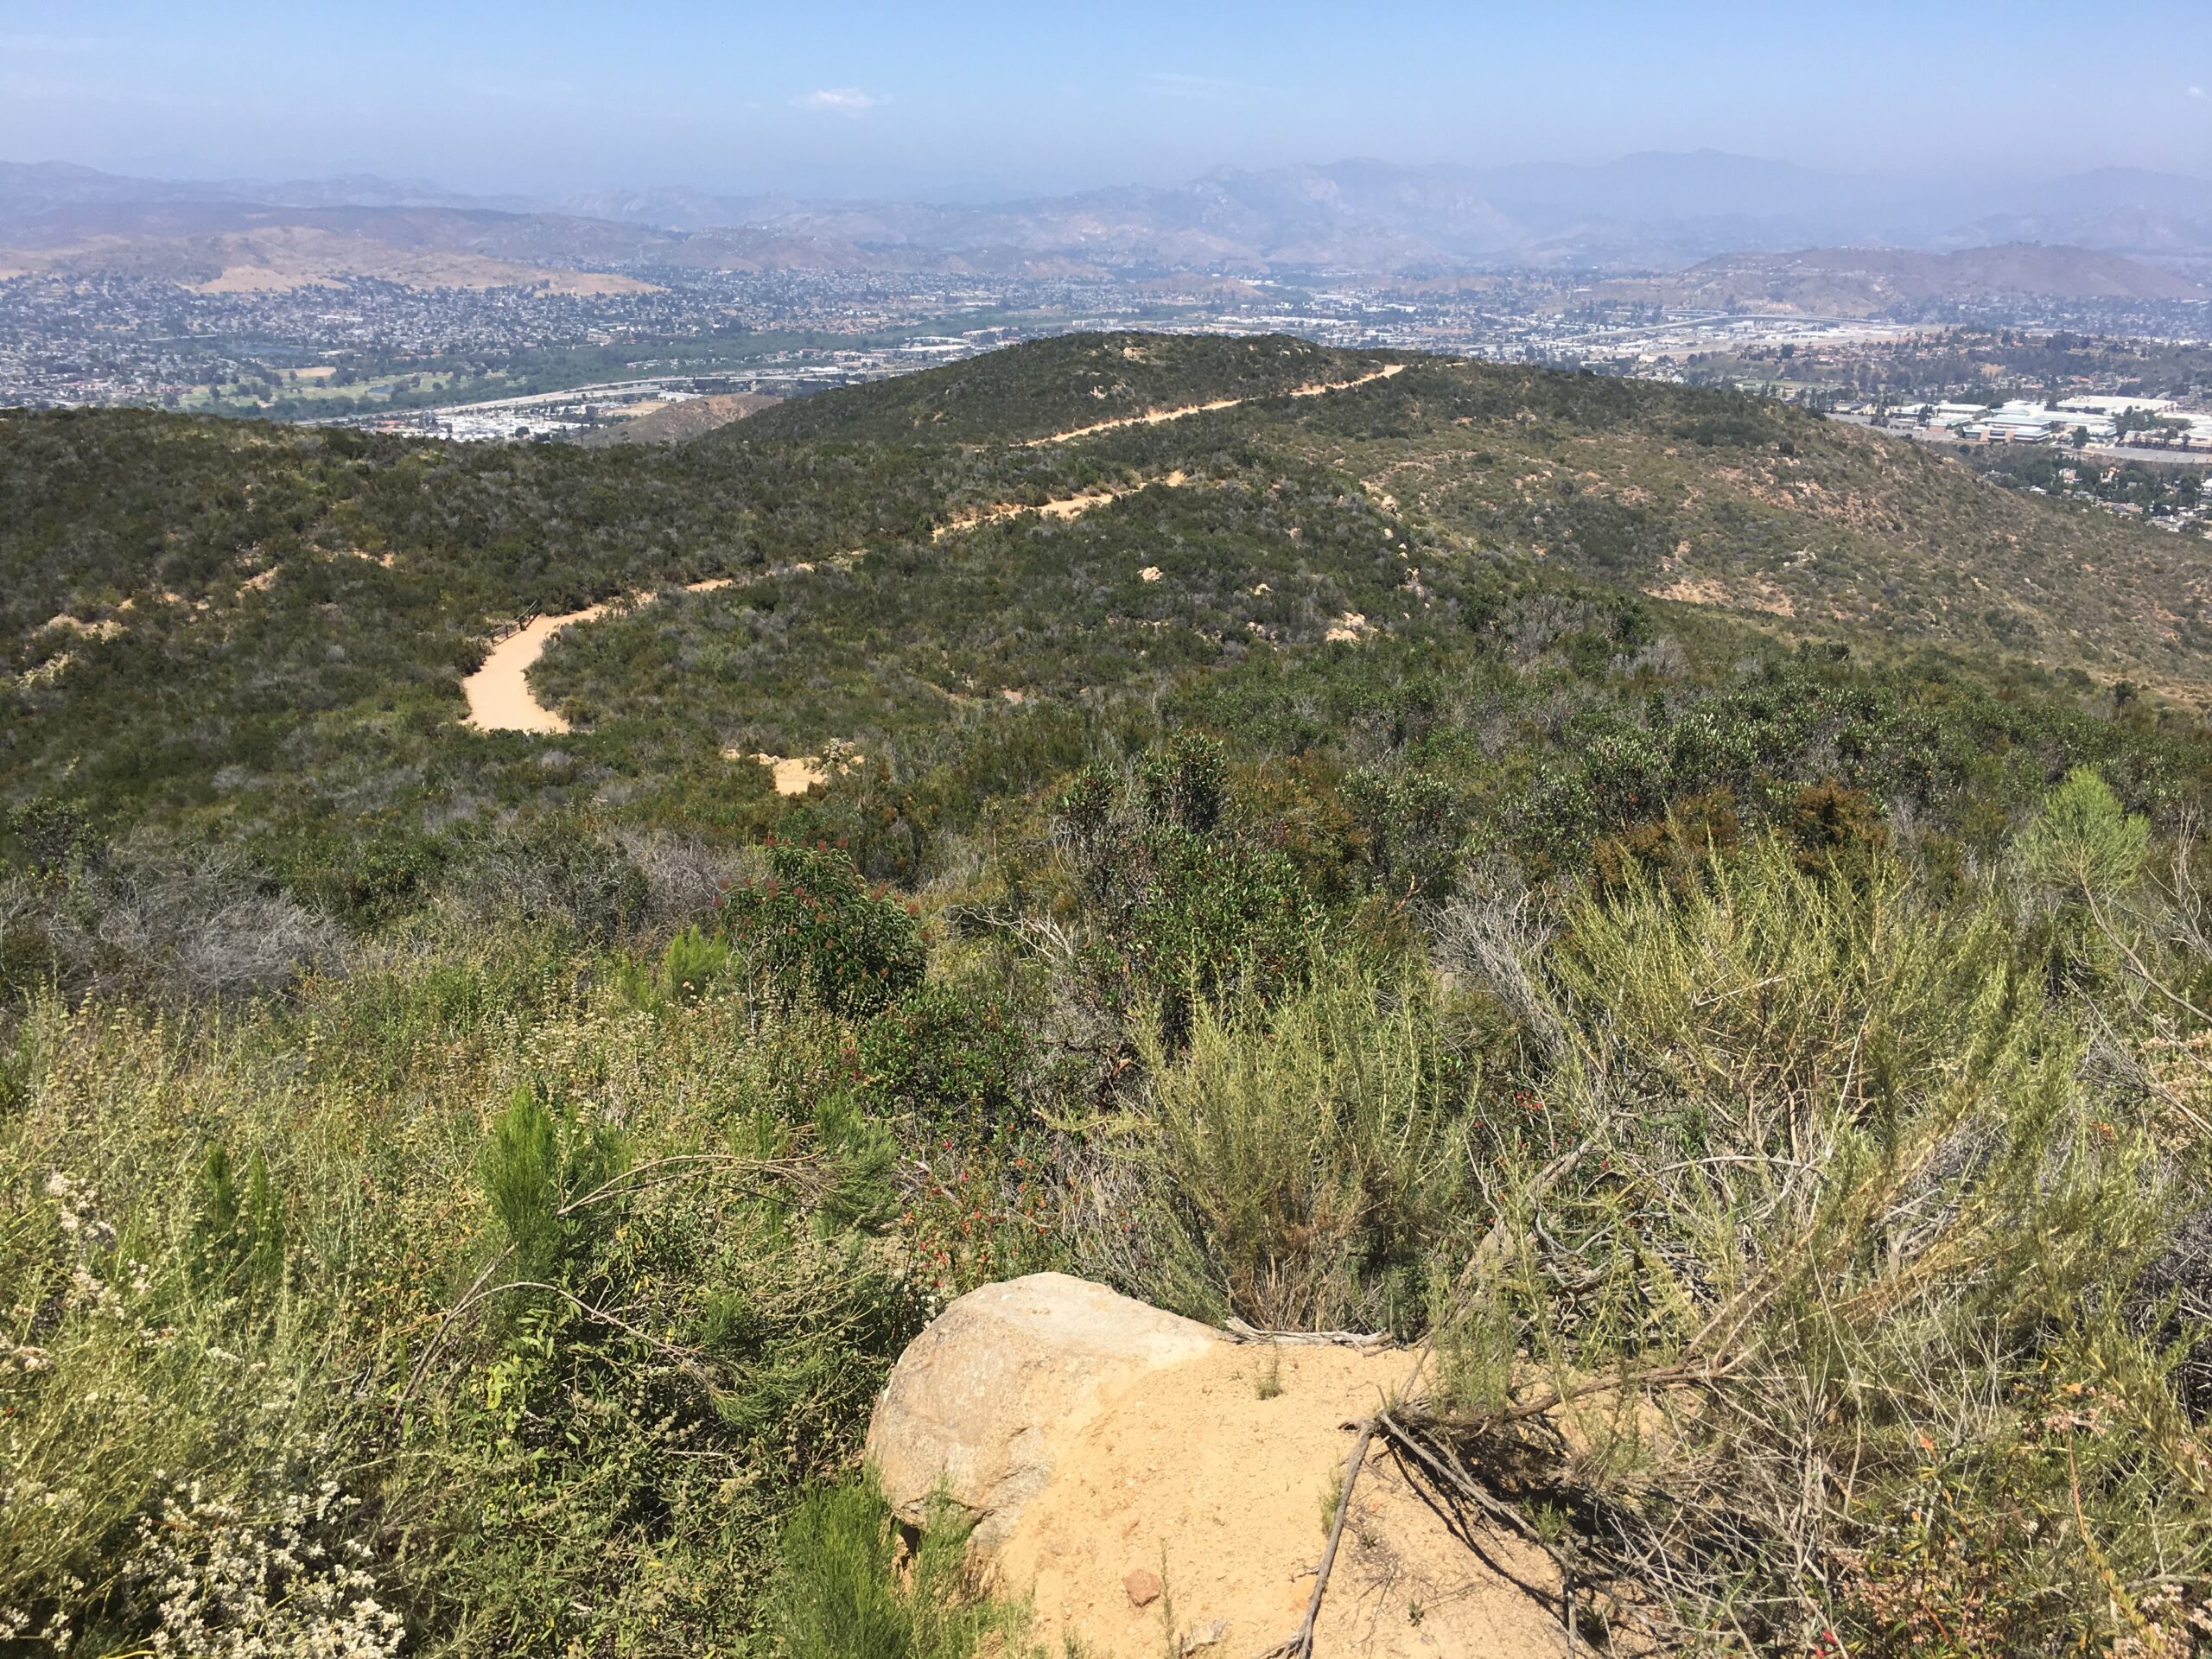
Cowles Mountain via Barker Way; Cowles Mountain Service Road Trail: 10/22/2017

Hike Distance: 3 Miles  Steps:  7,600 Elevation: 1590′ Elevation Gain: 950′ Time: 1 Hour 43 Minutes

Hikeability:   Strenuous   Water: 1.5 liters  Snacks: Probar and and Orange

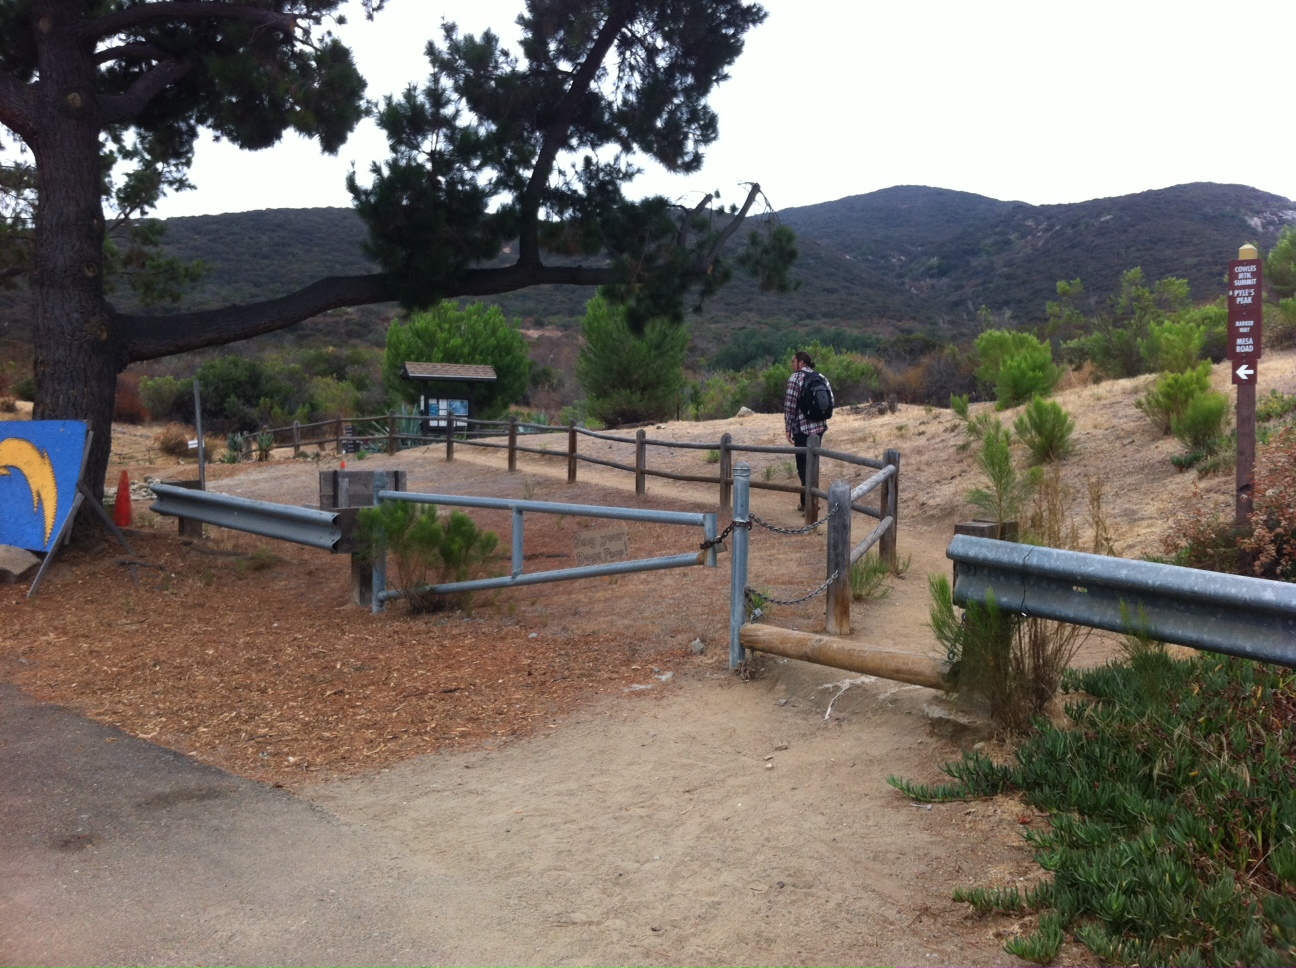
Barker Way Trailhead and Information Board Hiker Therapy

For an alternative route to summit the most popular hiking trail and the highest mountain peak in the City of San Diego, the Barker Way Fire Rd. trail is a scenic steep climb to the top of Cowles Mountain.  Directions:  Navajo Rd south. Turn left at Cowles Mountain Road, then left onto Boulder Lake Ave. Turn right at Barker Way and look for the trailhead on your left.  

History of Cowles

The mountain is named after George A. Cowles, (Cowles is pronouced like the store Kohl’s).  a 1870s-80s rancher and early businessperson in southwestern San Diego County. For many years Cowles Mountain was locally known as “S” Mountain. In 1931, 500 students from San Diego State University (SDSU) painted a 400-foot-tall (120 m) letter “S” on the side of the mountain, after which it took on its popular name.  In April 1942, during World War II, the local military ordered the S covered up for the sake of national security. After the war the painting tradition was resurrected.  In the 1970s, the annual repainting tradition was ceased for environmental and habitat protection, but suffered a brief resurgence in the late 1980s. The “S” has not been repainted for nearly three decades. In the 1970s, the annual repainting tradition was ceased for environmental and habitat protection, but suffered a brief resurgence in the late 1980s. The “S” has not been repainted for nearly three decades. – wikepedia

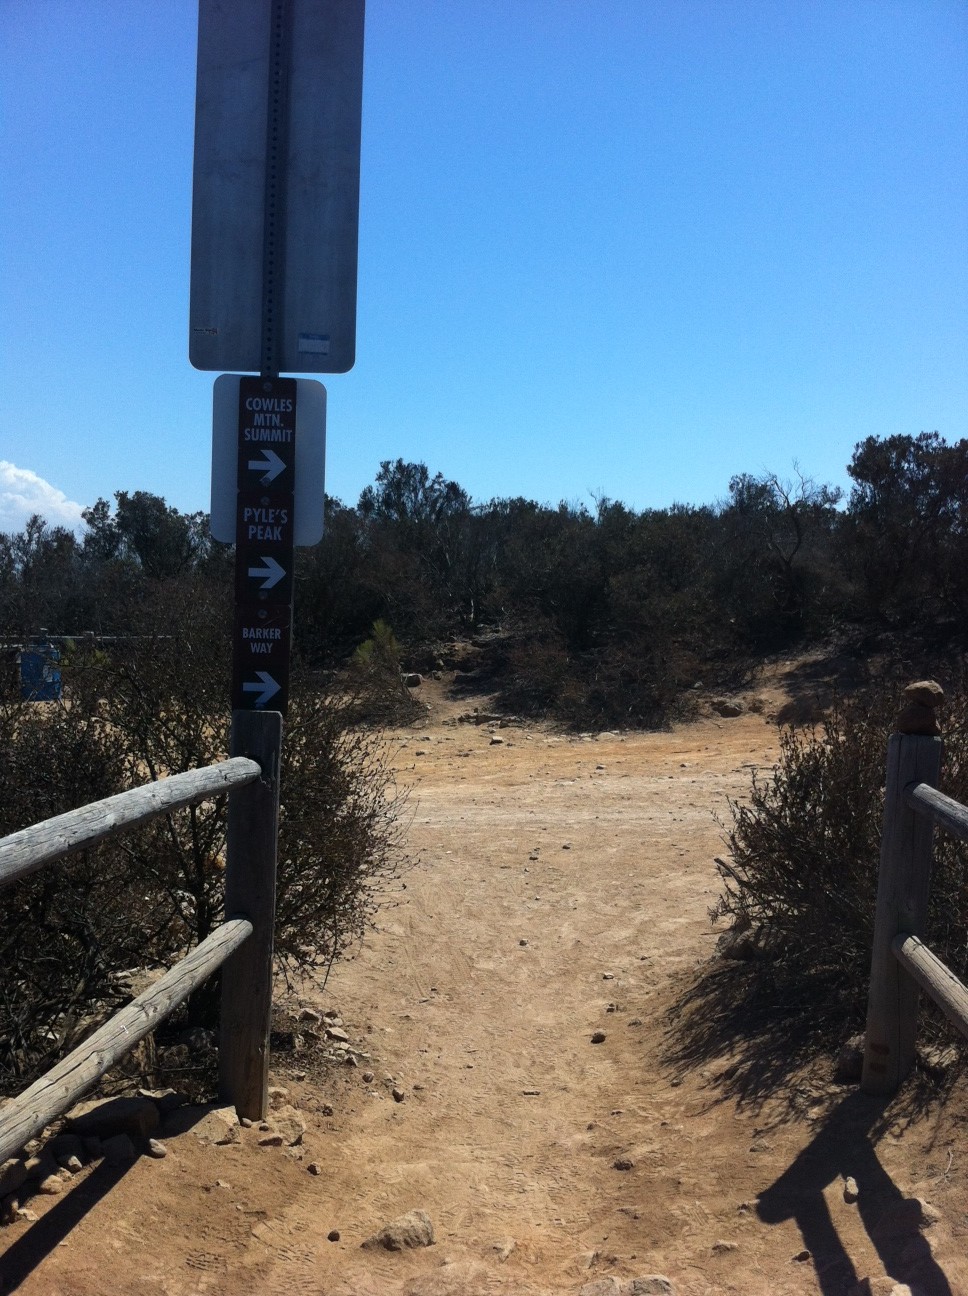
Barker Way Trailhead, Cowles Mountain Service Rd trail stay right

This 3 mile round trip hike offers a more demanding route and although the trail does flatten out in spots, for the most part this trail is the more challenging of the 3 popular routes to the top of Cowles Mountain.  The other two being the more traditional climb from Golfcrest and Navajo Rd, and the trailhead starting here, Barker Way.  The fire road trailhead start is the same as the Baker Way trail. 

“S” Section Hiker Therapy

As you start on the trail, go about 100 yards, the Barker Way trail will fork off to the left, the fire road trail will stay right.  Continue along this trail/fire road until you reach the peak. The trail at this point changes from hard packed sand to a rockier composition.  However, most of the trail up is hard packed sand, intermittent rocker trail. Right from the get go the trail starts to ascend rather steeply, though very doable, you will continue to climb, at the 3/4 mile mark you will plateau.  The ascent will again continue to incline climb up to a point where the trail begins to take on an “S” pattern as you wind to the top and the peak.  At the most steepest part of the trail near the peak you are going to vier right, this is this last climb to the top and after less than a 1/8 of a mile you will reach the Peak of Cowles Mountain. 

S” section of the trail, or the “Switchbacks” begin here       Hiker Therapy

To your right great views facing west, and if you continue past the “steps” on your left you could venture on to the Pyles Peak trail section. Pyles ads another 1.5 miles or 3 round trip  to the 3 mile round trip for a total of a 6 mile hike.  I highly recommend venturing off to Pyles Peak, if not this day, on another, so you can get yet an added dimension, more miles and diverse scenery.

Near the Peak, last 1/4th mile to go   Hiker Therapy

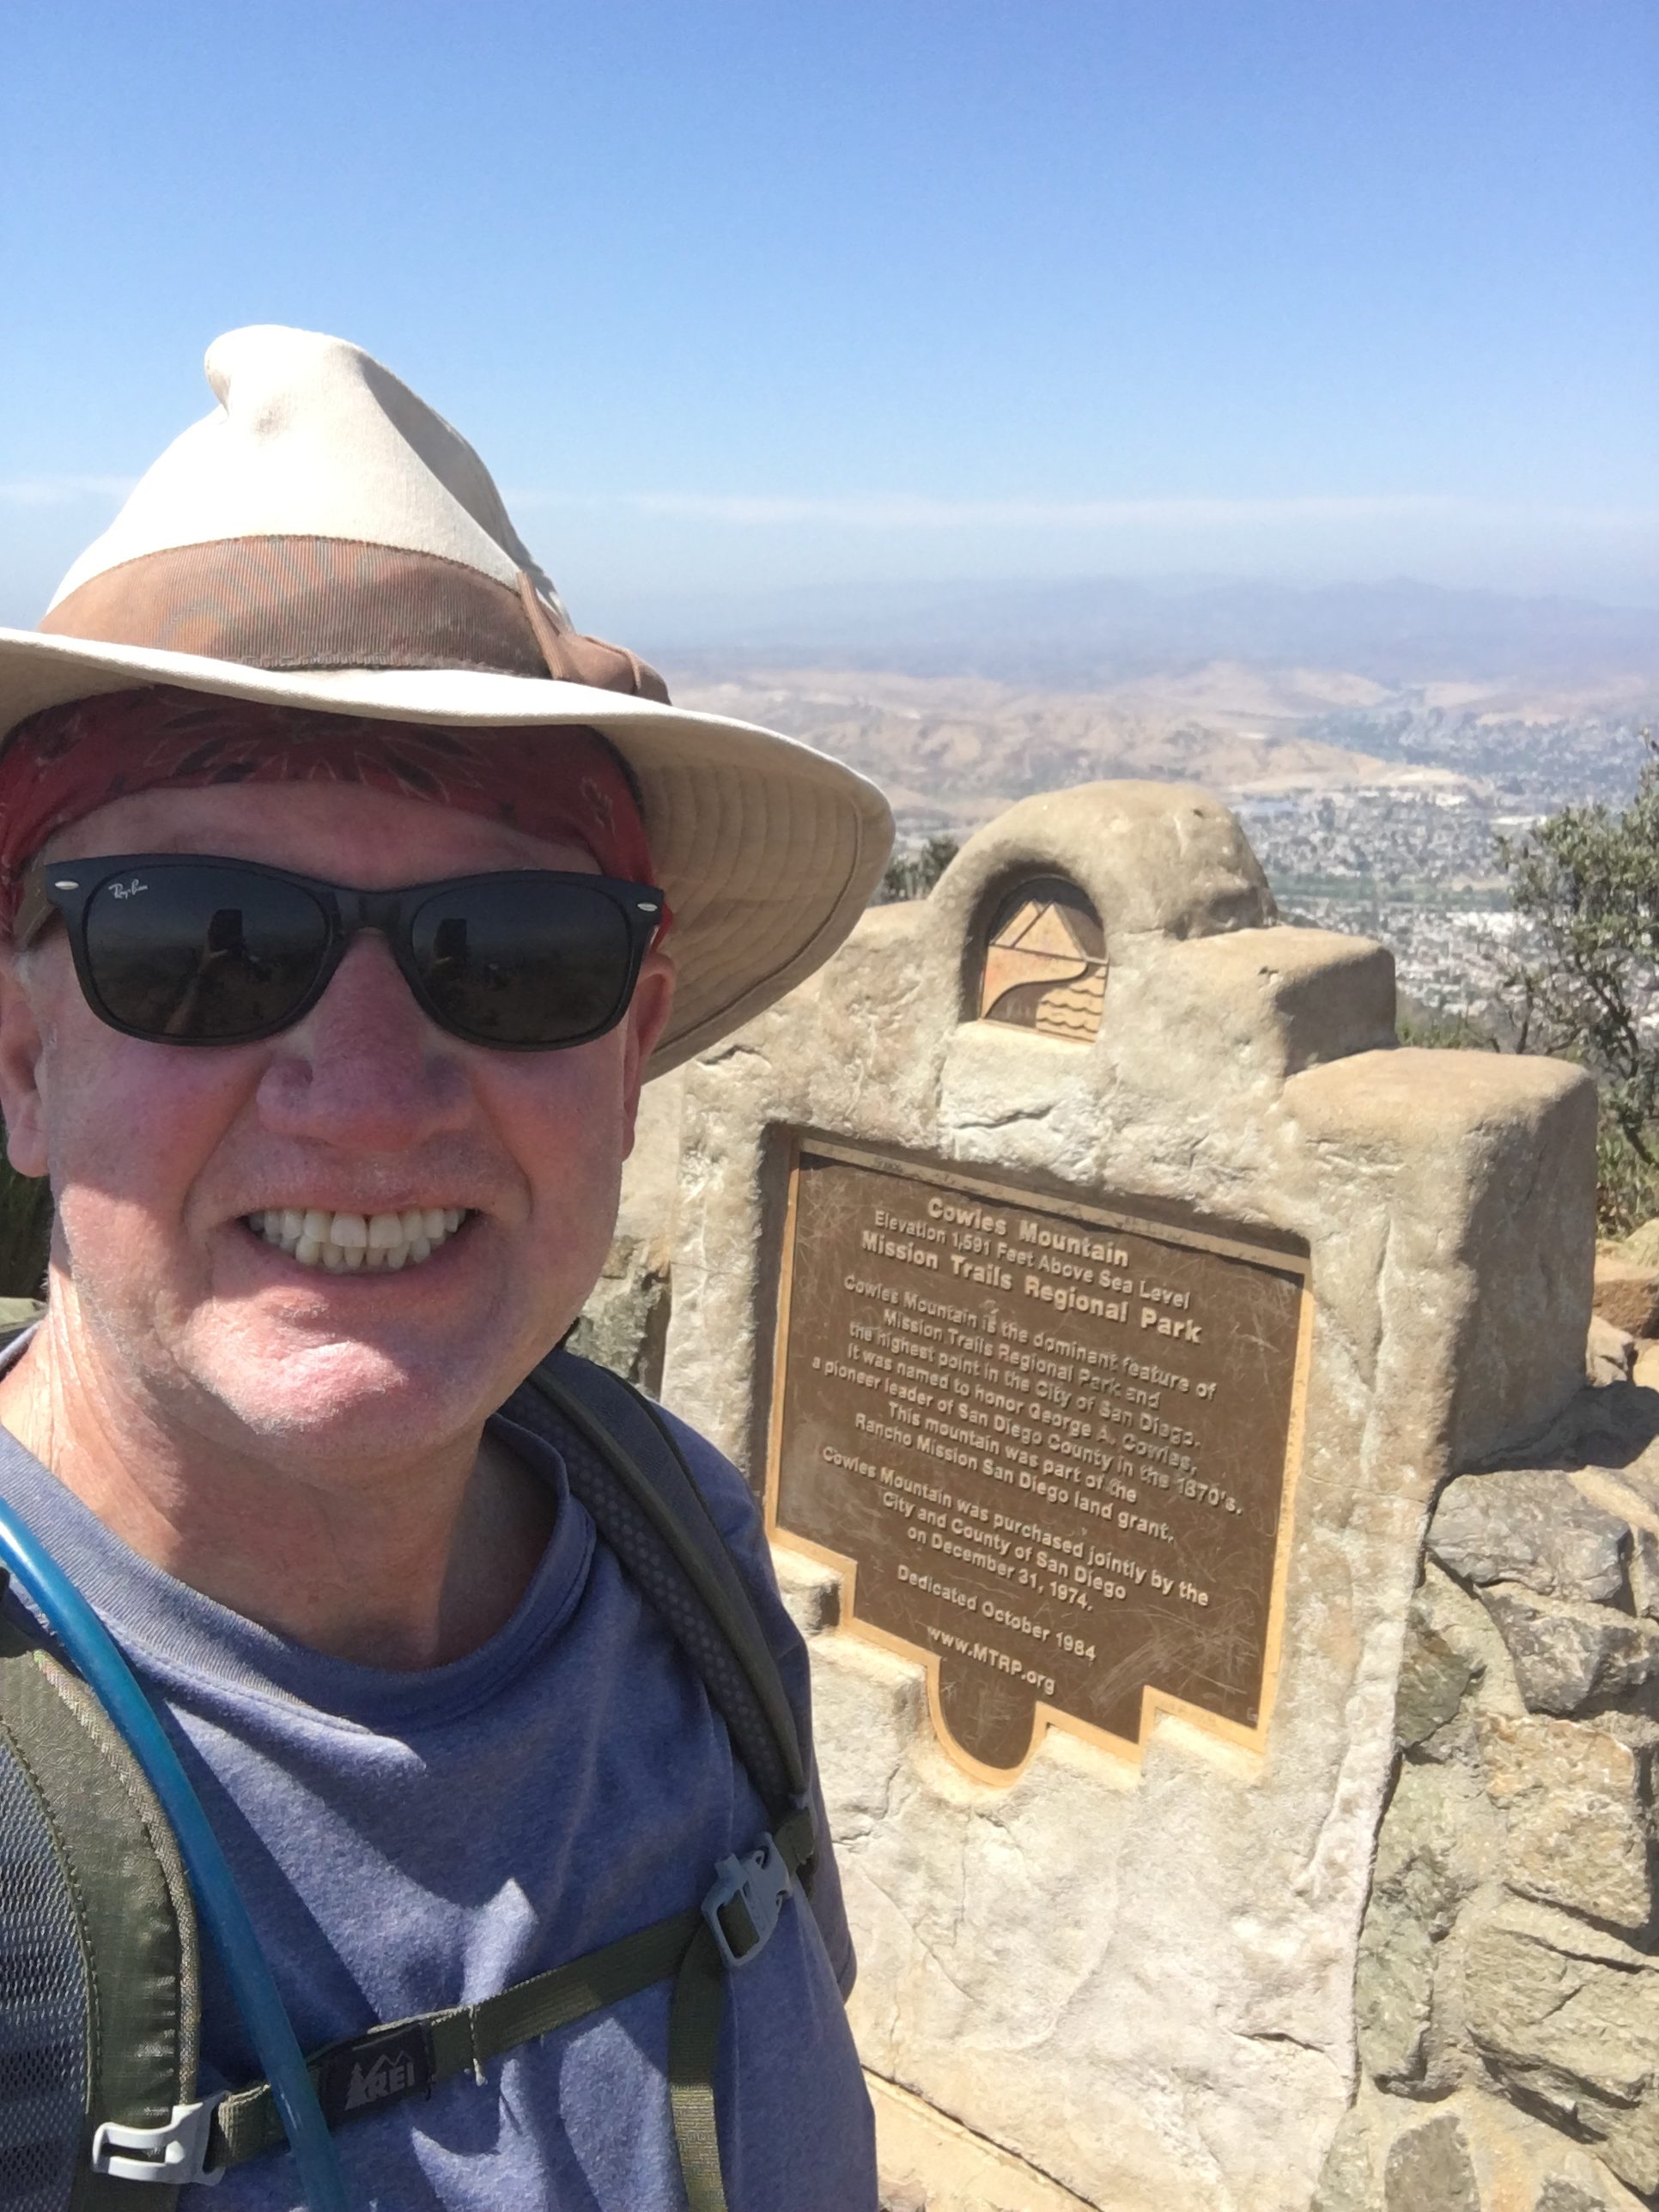
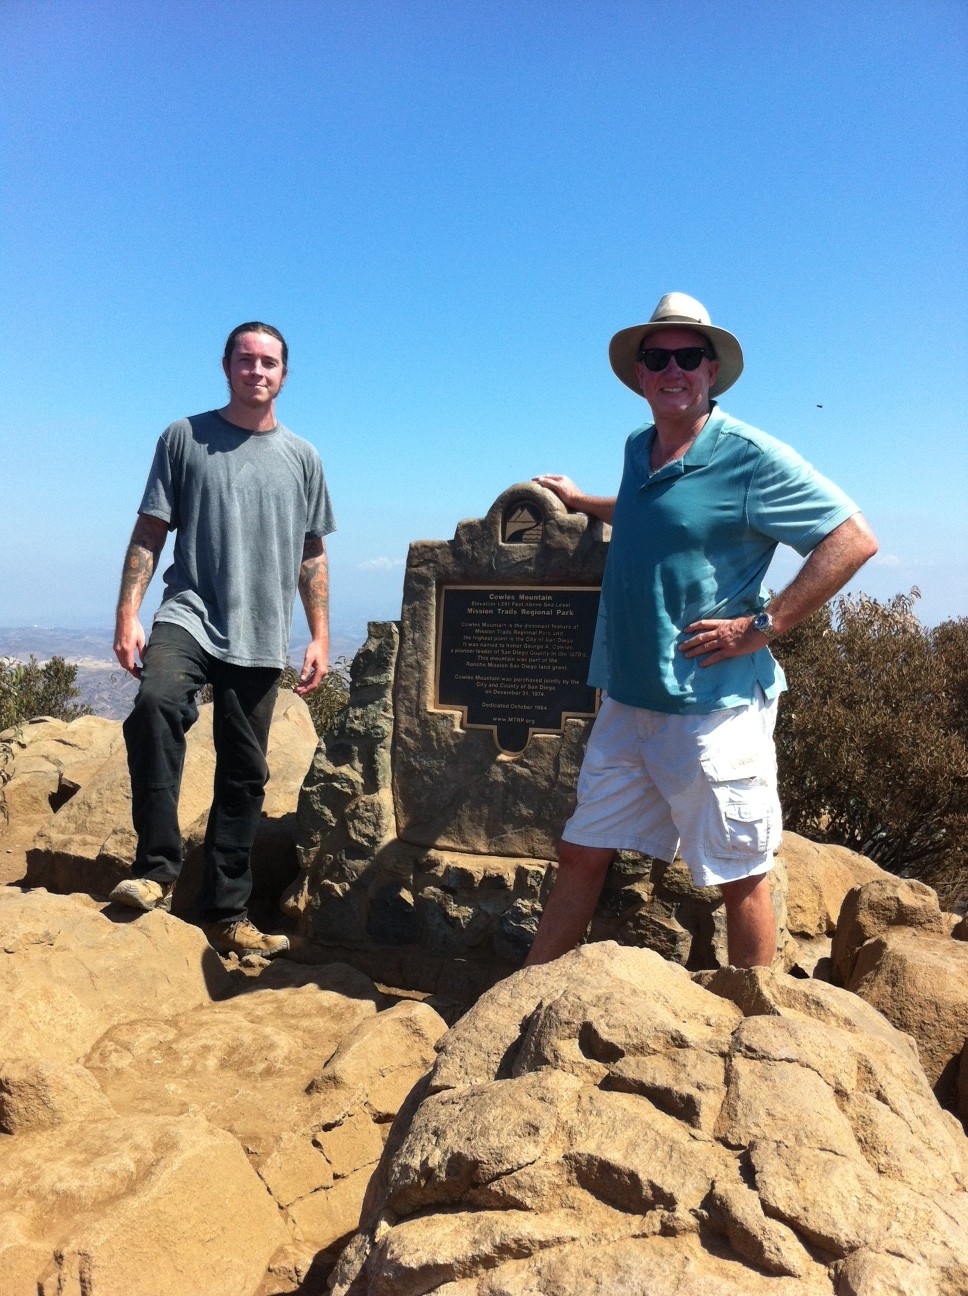
The “Monument” at the Peak of Cowles Mountain- Hiker Therapy

On this day I did take the steps on the left which leads you up to the final approach to the Peak and the famous Cowles Monument.  Once Here, after you tap the monument of course,  take your time enjoying the panoramic views of San Diego, Pt. Loma, Mexico and scanning east and the ominous Peak of El Cajon Mountain.  Cowles is one of my favorite Peaks to be on as the 360 view of our county is more than impressive as well as at 1600’ this being the highest Peak in the City of San Diego.   The trek to the top should take you about 45-60 minutes due to the continual ascending steepness of the trail.  The descending return route is the same trail, for me the decent many times offers more of a challenge due to the slipperiness of the sand and the rockiness of the trail.   Take your time, enjoy the views back and Hike on!

Cowles Mountain Barker Way Gallery

I prefer the Barker Way start doing either this trail or the Barker Way trail up to the Peak.  It is less traveled than the Golfcrest trailhead and in my opinion offers more scenic views, a quieter environment and more of a challenge.  As always, bring more than you need water, a snack, know your limits, if hiking with another, which is always my suggestion, respect your partner’s limits as well.

Be safe and hike on!
Los Penasquitos Canyon Preserve: Roundtrip; West Approach to East and back….08/02/14

Directions Starting from the Sorrento Valley Trailhead West:

 Los Penasquitos Trail Head West 4300 Sorrento Valley Blvd, San Diego, CA 92121

Exit Interstate 805 at Mira Mesa Boulevard/Sorrento Valley Road. Take either I-805 frontage road (Sorrento Valley Road on the west side or Vista Sorrento Parkway on the east side) 1 mile north to Sorrento Valley Boulevard. Turn right on Sorrento Valley Blvd. and continue 1 mile east to the western staging area.  Parking lot is on the right off of Sorrento Valley Blvd. for Los Penasquitos Canyon Preserve. Park in the parking lot.

Hike Time and Distance:  Across the Preserve and back from trailhead to trail head was about 11 miles.  Hike time about 4 hours including break at the Falls.

Water and Food:  On this day it was near 90 degrees so lots of water was consumed, about 90oz  Beef or Turkey Jerky, Hard boiled eggs, cheese sticks and trail mix are easy to deal with for snacks.


A hidden hike that can be accessed from the West in Sorrento Valley and from the East at Rancho Penasquitos is the Los Penasquitos Canyon Preserve.  Each of the mentioned locations offers a trailhead start that leads to a very scenic waterfall, with Rancho Penasquitos being 3.3 miles start to the waterfall and the Sorrento Valley side taking 2.7 from start to waterfall.  

On this day I wanted to include both trails roundtrip. I started this hike from the West approach of the Preserve.  

Los Penasquitos (meaning little cliffs) Canyon Preserve lies between Rancho Penasquitos and Sorrento Hills to the north and Mira Mesa to the south.   Stretching approximately seven miles from the I-5 and 805 merge to just east of I-15; it encompasses some 4,000 acres of both PeÃasquitos and Lopez Canyons. The Preserve is jointly owned and administered by the City and County of San Diego.


What You Can Expect From This Hike!
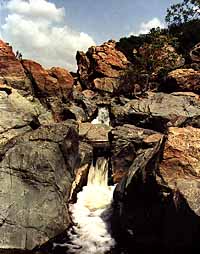
A waterfall cascading through volcanic rock stream side forest of giant California live oaks. Groves of majestic sycamore trees.year-round stream populated by pacific tree frogs, crayfish and largemouth bass.

A freshwater marsh hosting a variety of aquatic birds including great blue herons, egrets, mallard ducks and more. Mule deer, bobcat, red-tail hawks, rattles snakes, coyote, and raccoon are just a few of the mammals that can be observed throughout the Preserve.  

The Sorrento Valley trailhead start offers a good size parking area and a restroom. As you begin you will come to a fork in the trail one leading you to Lopez Canyon the other pointing you towards the waterfall to the left.

As you veer to the left you will go under the Sorrento Valley Blvd. overpass. The trial from here climbs somewhat and the trail turns from compacted dirt to a rocky path. This portion of the hike is the only real climb as the remainder of the trail is flat. You are now on your way to the waterfall, which is 2.7 miles from where you started.  

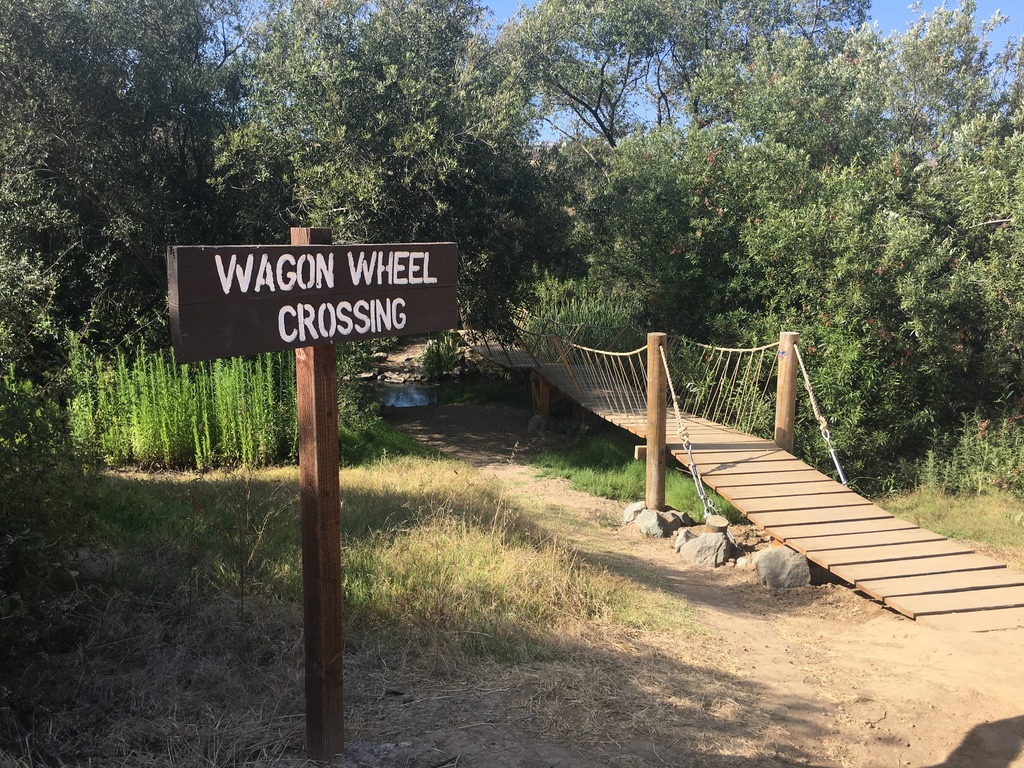
The trail has two different paths you can take. As you come upon the wagon wheel trail section you can veer left to cross the creek, which leads you to a secondary trail and the waterfall, or you can continue on and be lead to the same waterfall just from a different side, either way you will get to your destination.

We stopped at the waterfall to take a break and since it had rained the day before there was plenty of water running through the rocks and river.    After our short break we were ready to continue on to the other side of the trail and the Rancho Penasquitos trailhead start from the East.

Since this trail is so flat, and more a nature walk then a hike, we covered the next 3.3 miles in less than 90 minutes.   

If you want to spin off the trail as you approach the Penasquitos start you can visit the Ranch House, which besides having a historical story is a fun place to walk around. 

A trail marker lets you know where to turn. Our destination of the Penasquitos trailhead start was accomplished we stopped turned around and repeated our journey back to the Carmel Valley trailhead.

Starting from Rancho Penasquitos Trailhead:  From I-5: Take I-5 to the 56 East, following signs toward the 15. Exit at Black Mountain Road and turn right. At the intersection of Black Mountain Rd. and Mercy Rd., turn right into the Penasquitos Canyon Open Space Preserve Parking lot. From I-15, exit at Mercy Road. Southbound traffic turns right; northbound traffic turns left and crosses the freeway. Mercy Rd. will dead-end at the parking lot for Penasquitos Canyon.

To build up hike endurance, ( this was our last hike befor Mt. Whitney)  take in some scenery with a waterfall to boot this hike is very doable and a great family hike to take the dog on as well fun hiking the Los Penasquitos Canyon Preserve!


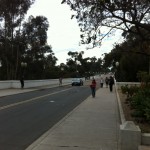
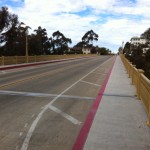
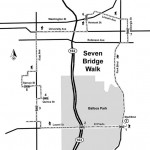
Urban Hike: Seven (7) Bridges San Diego

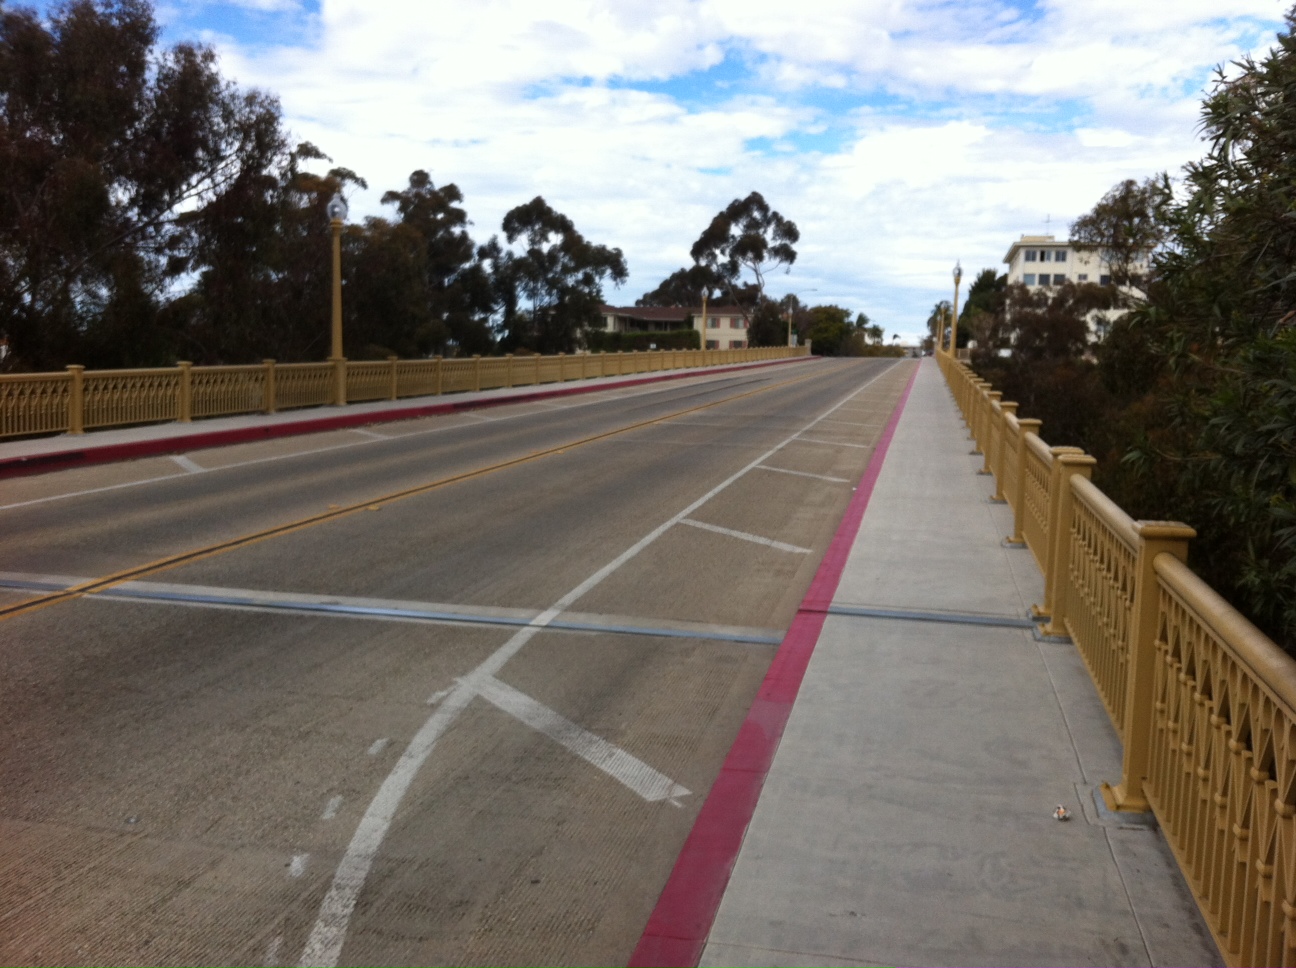
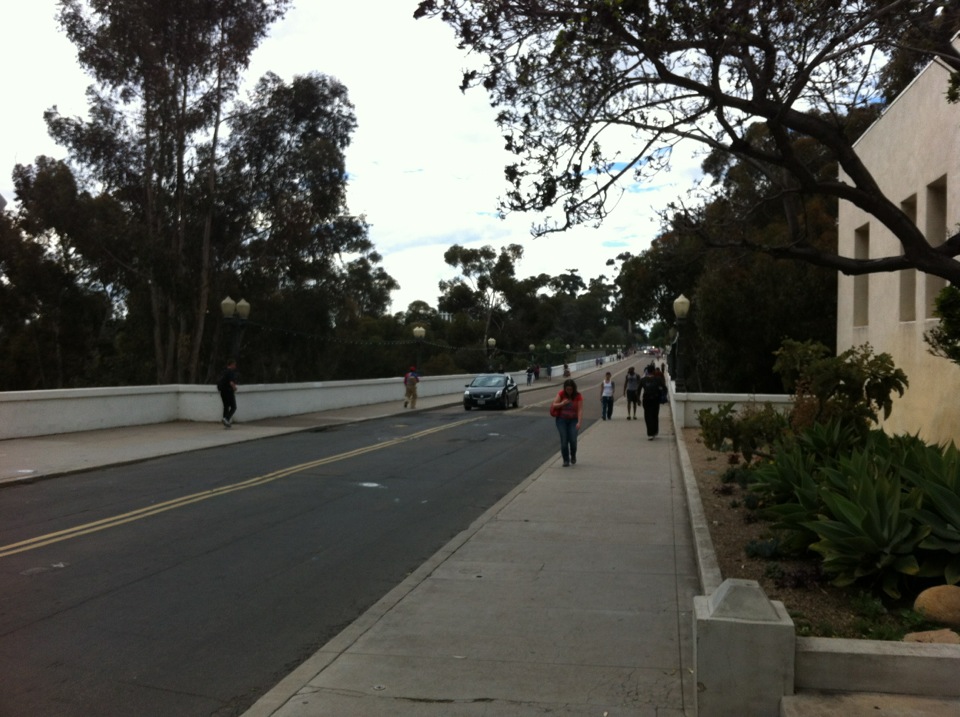
Park Blvd Bridge #1  Hiker Therapy

DISTANCE:  5.5 mile LOOP  TIME 3 HOURS INCLUDING STOP AT PEETS COFFEE HILLCREST  SNACKS:  ORANGE, SNACK BAR (SCONE AT PEETS)

I have always thought that the only way to see a city is by walking or as I like to call it urban hiking.  Urban hiking allows you to see the small details, hear the sounds and feel the energy that city life vibrates. Houses and buildings that you may previously zoomed past in your car, take on certain richness and come to life when hiked by. An urban hike that provides all this and more is the 7 Bridges of San Diego.  


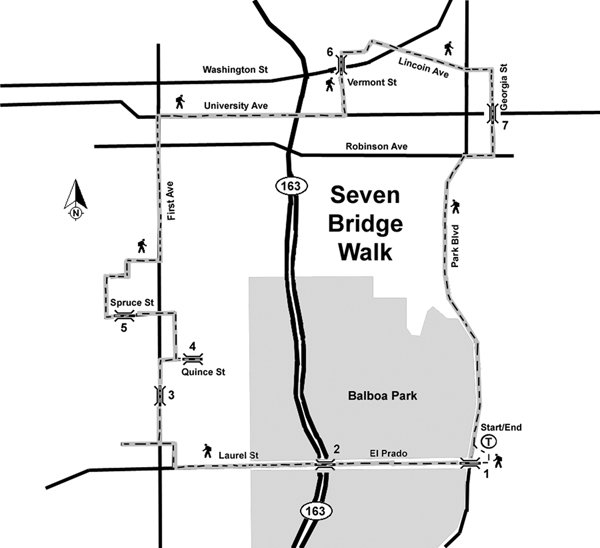
The “trail” starts at Bridge #1 on the east side of Park Blvd between Presidents way and Village place.  An early start is highly recommended for prime parking, less traffic, and lower temperatures for this urban hike that is a blend of historic to current bridges and houses along former streetcar-access routes in San Diego.


After crossing the Park Blvd. Bridge #1, hike straight ahead to El Prado passing Balboa Park museums and the lily pond, continuing across Bridge #2, the 1914 Laurel St. bridge,

Laurel St bridge #2 Hiker Therapy

the first multiple-arched cantilever bridge built in California. If you are used to hiking the mountains and more natural trails of San Diego County and Southern California like me the beginning stages of this “hike” may fee strange to you. However, as you leave the crowds of people and tourists visiting this area behind, you will soon develop an appreciation of what Americas finest city has to offer as seen on this “trail”.  


Along the way you will pass fun city restaurants  that are tucked into the neighborhood, along with ornate architecture in the form of buildings, churches and houses.


First St. Bridge #3 Hiker Therapy

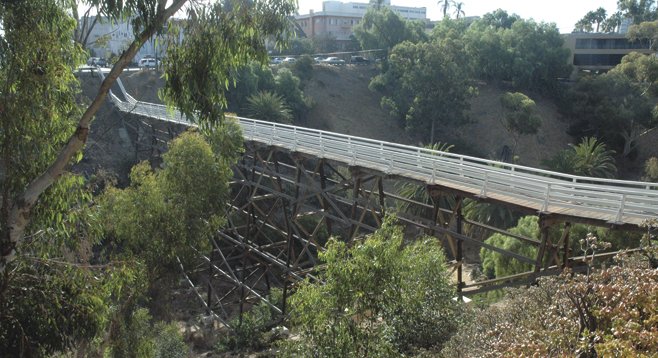
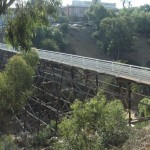
The first right turn on the trail is First Street, which will lead you to the First Street Bridge, bridge #3.After crossing this bridge continue on First Ave to Quince St., turn right on Quince St. hike for two blocks to the Quince St. bridge entrance, bridge #4. The wooden-trestle bridge was built in 1905 and really has that turn of the century very old school feel to it, but very fun none the less.  


After crossing to Fourth Ave., retrace your steps to Second Ave. and turn right (north) for two blocks to Spruce Street, then turn left crossing First Street to the Spruce Street Bridge, bridge #5.


Quince St. Bridge #4 Hiker Therapy

This section of the hike takes you First St. through neighborhoods lined with houses each offering a unique flavor of their own and a collective peace and quiet amidst the hustle and bustle of city life.  


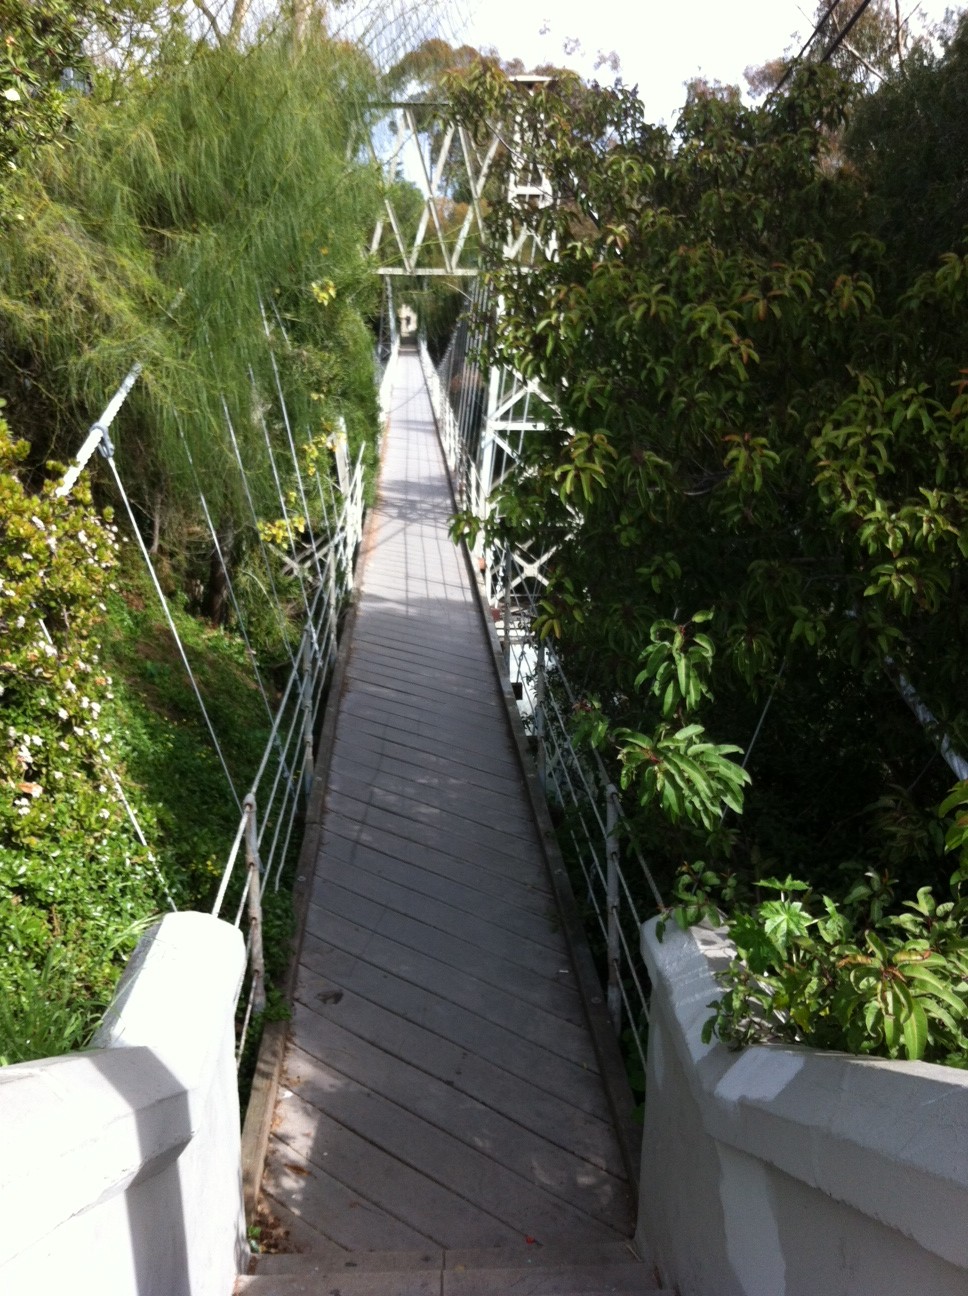
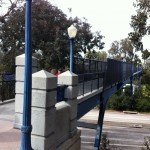
The Spruce Street Suspension Bridge is not only historic, but it is a popular San Diego icon. Crossing the bridge is an experience onto its own as with each step the bridge will sway and slightly twist. 


Bridge #5

Spruce St.Bridge #5 Hiker Therapy

On this Sunday afternoon Hillcrest was very busy with locals and tourists each filling the local popular establishments such as Urban as well as Peets.  

After taking in the people watching sites it was time to get back on the trail, quick left turn out the front door of Peets put me back onto University Ave heading east to our next left turn at Vermont Avenue.  Cross University here heading north to Vermont St. Bridge, bridge # 6.


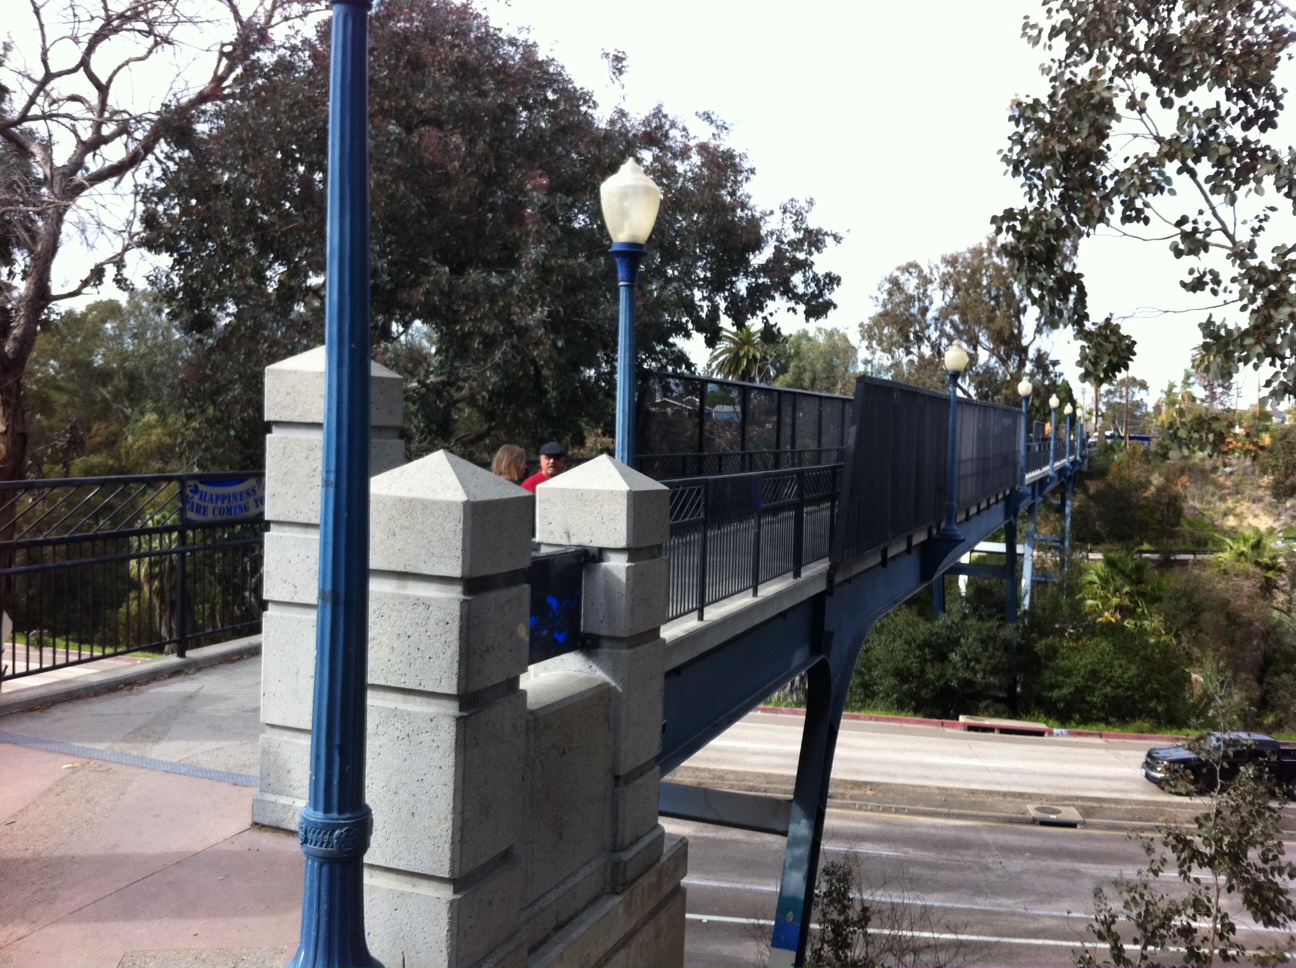
Vermont St. Bridge #6 Hiker Therapy

For me this modernly constructed bridge provided me with words of inspiration that I usually get with each hike I do, interestingly these words came in the form of a sign, literally, and yet another quality of uniqueness this urban hike provided me. After crossing the bridge turn right on Lincoln and cross University going east to Georgia Street.  


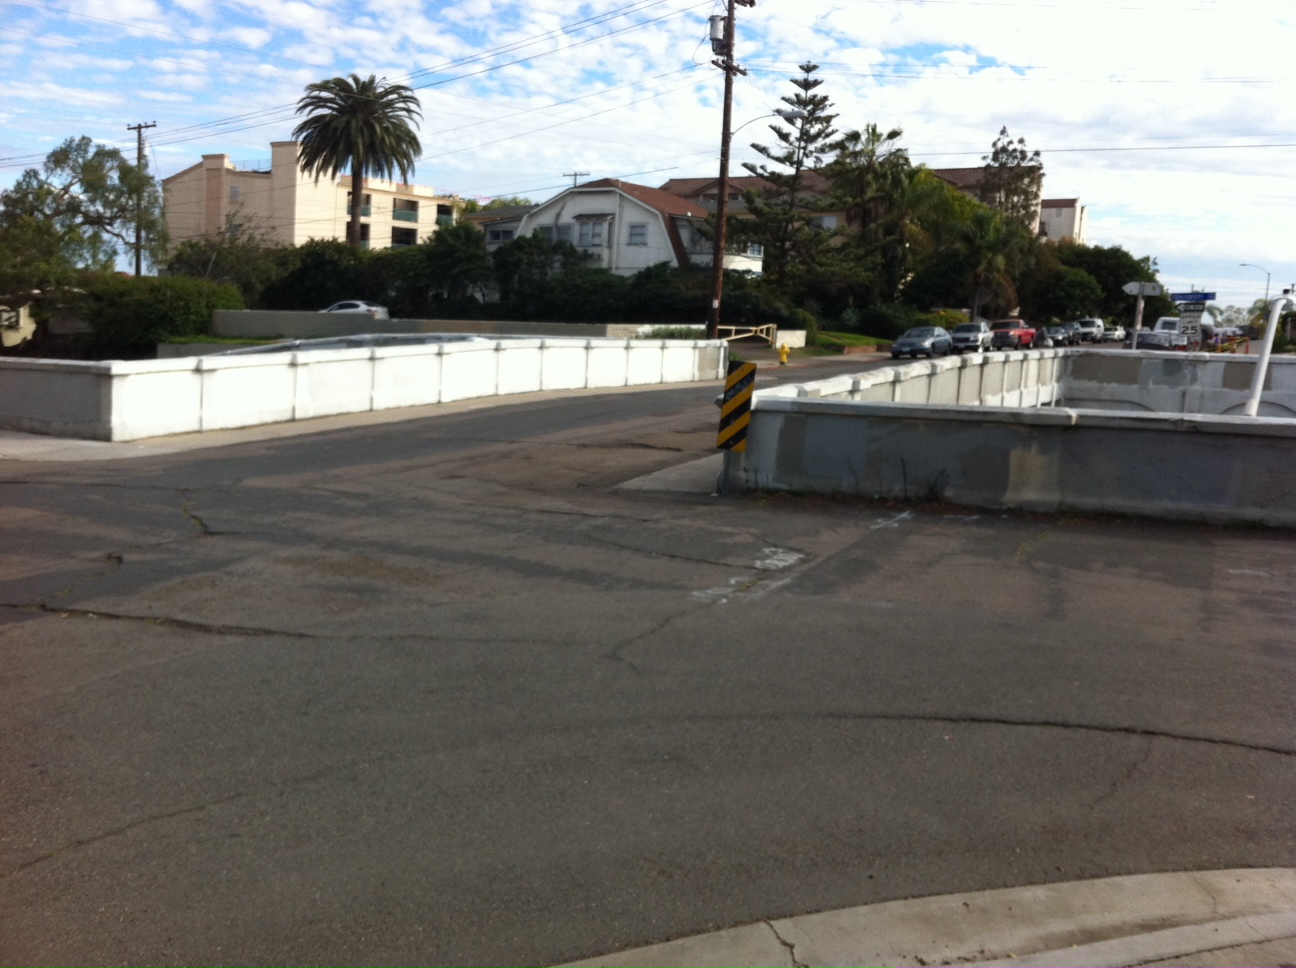
Turn right at Georgia Street going south towards the final bridge on our hike and the 7th bridge on the 7 bridges of San Diego urban hike. After crossing this bridge you can turn right on any cross street to get you back up to Park Blvd. and then head south on park for the final mile of the hike and back to bridge 1 from which you started from.

Georgia St Bridge #7 Hiker Therapy


I absolutely suggest this urban hike as a great way to see the diverse and interesting neighborhoods of San Diego which are linked together with 7 bridges of historical significance each with their own unique beauty embedded in the nature of the city.


7 Bridges Urban Hike Gallery


Cowles Mtn, Mission Trails Regional Park, Santee.CA; Big Rock Rd. Trailhead, September 2012

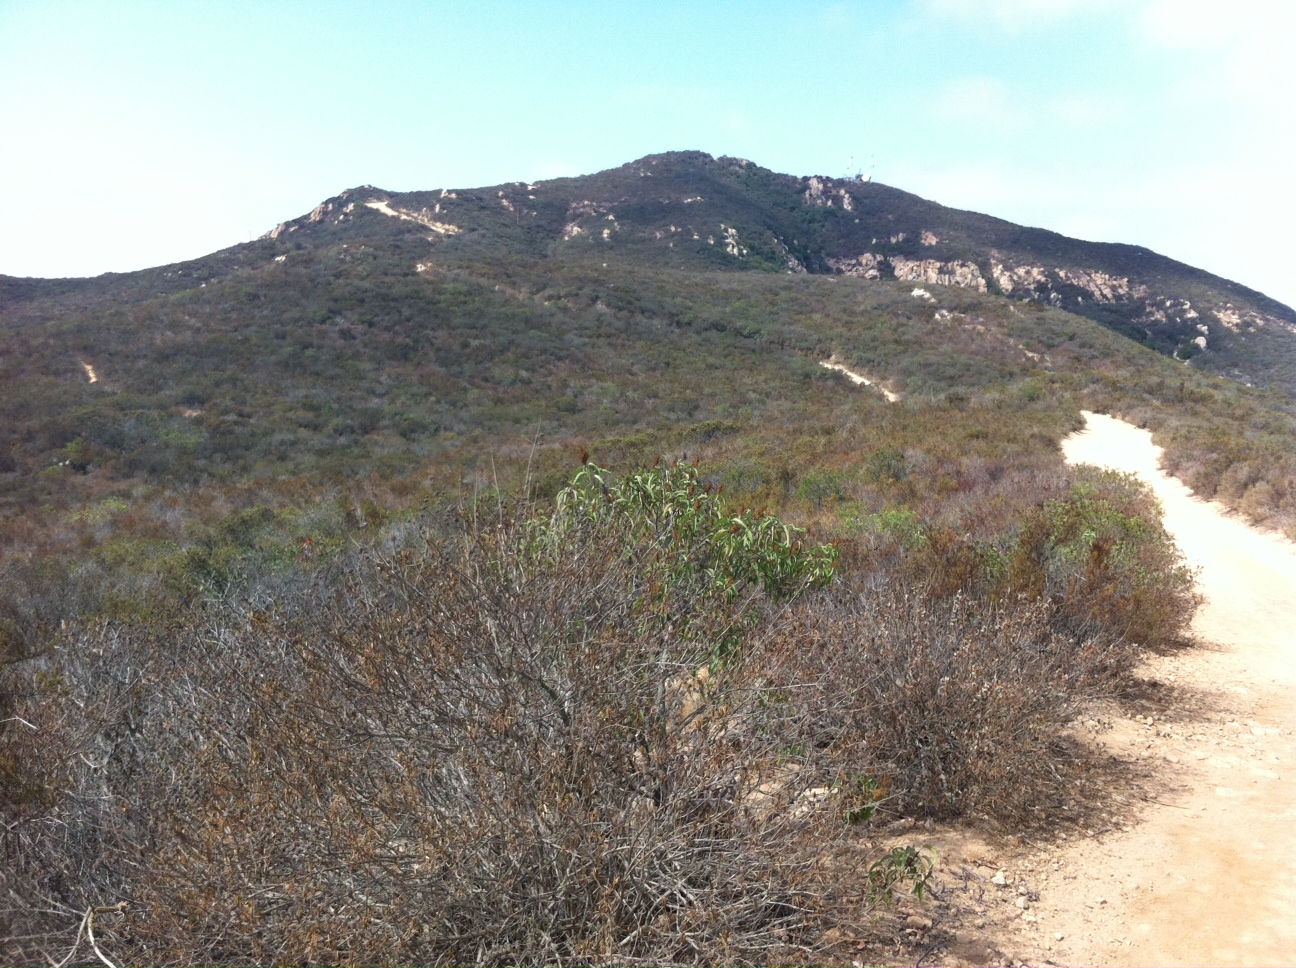
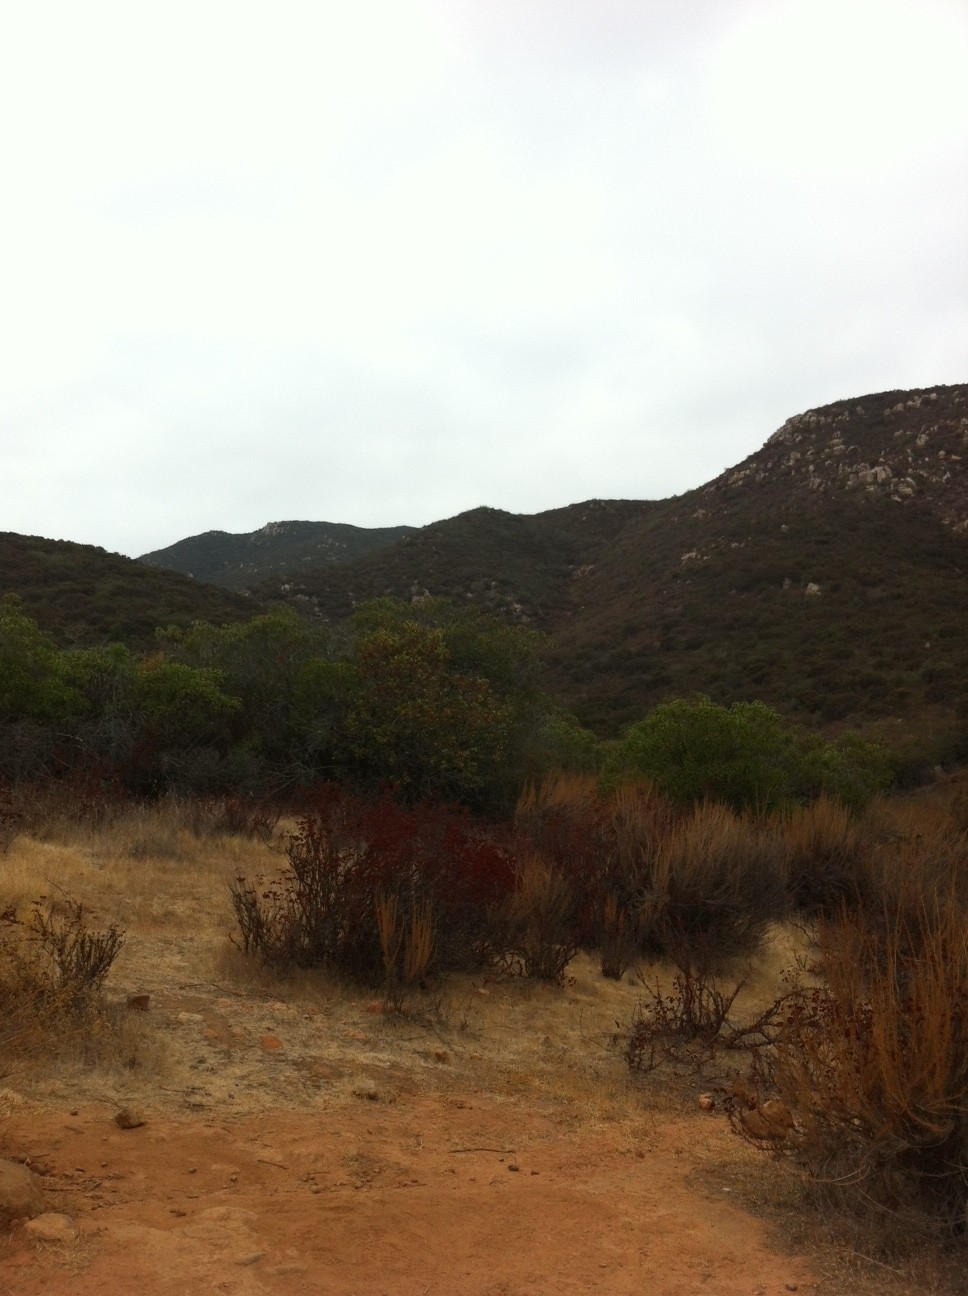
Cowles Summit in distance

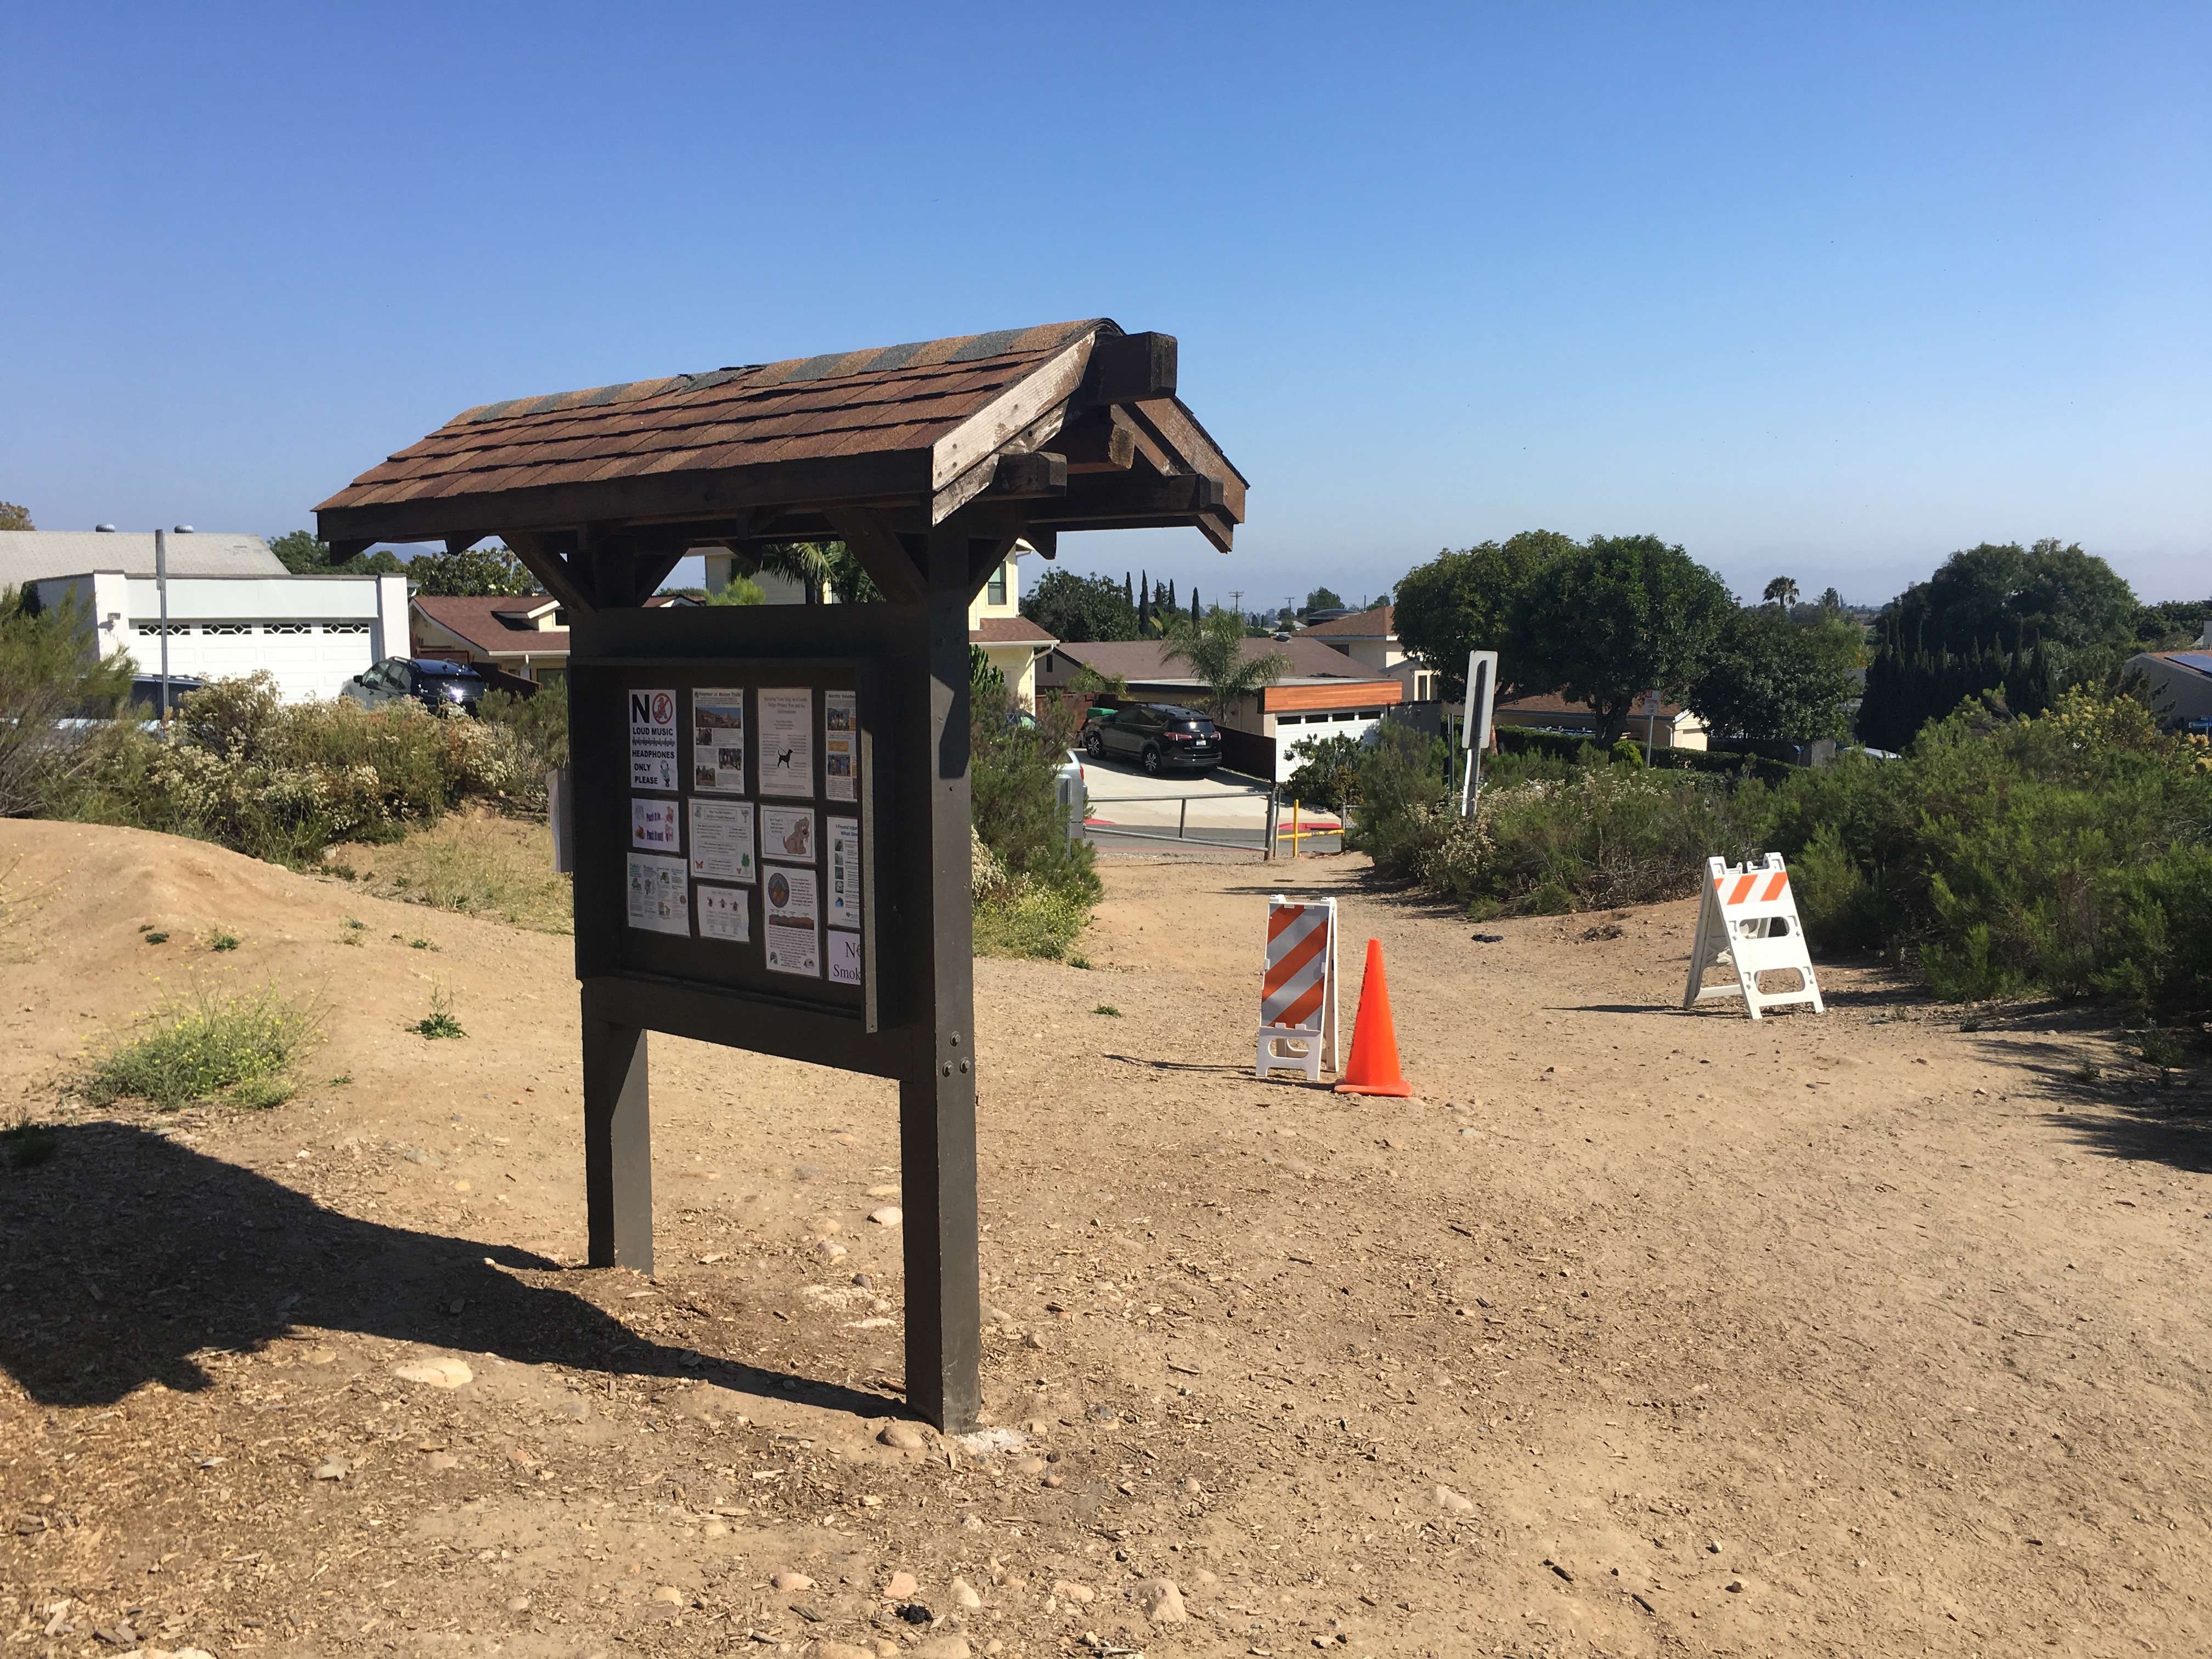
Big Rock Rd. trailhead start

Cowles Mountain, part of the MIssion Trails Regional Park system in San Diego , is by far the most popular hike in the County and a hike I refer to as the Disneyland of hikes due to its heavily traveled trail especially the main trailhead off of Golfcrest Drive which is the preferred starting point of the masses, however there are other trailhead starts including the one I will speak about here.  The Big Rock Rd. trailhead beginning offers a rarely used start to hiking Cowles Mountain as well as offering the most scenic and unscathed view of the Cowles Mtn summit.  To access the Big Rock Rd. trailhead you can exit from Hwy 52 at either Mast Blvd or Mission Gorge Rd.  Big Rock Rd. intersects MIssion Gorge Rd. and is a traffic light landmarking where you need to turn.  Take Big Rock Rd to the end where it dead ends at the trailhead beginning.    Houses line this neighborhood area and parking is curbside and very much available as opposed to the Golfcrest starting point that again reminds one of the crowds at Disneyland.  The Big Rock Rd. trailhead is one of four starting points to trails that lead to the summit of Cowles Mtn. along with Barker Way, Mesa Drive as well as the mentioned Golfcrest Rd. Entrance.  The trail starts out near an information board that will list the different trails and their distances to the summit.    This particular trail is 2.5 miles from the summit and offers enough challenge in both distance and climb to make the Hikeability of this trail strenuous.   One of the strengths of the Cowles Mtn hike as well as others on the Mission Trails regional Park system is the trails are well marked with well placed signs to guide you towards your destination.  The Big Rock Rd, trail is no different as signs along the way clearly route the trail and show you where other trails join in and possible alternte trials that may interest you with the same destination at trails end.  The start of this hike offers a trail composition of compacted red dirt and sand wandering through low lying brush of various plant life.  

Flora and Fauna

Service road connection

The Top!

It is here that the trail becomes much more challenging and physically demanding.  Keep your eye on the prize and the accomplishment and reward that lay ahead to motivate yourself up this steep ascending Rd.  Before you know it you will be at the familiar rock strewn summit of Cowles and a 360 view of the County.    On this particular day, although gray skies, we were still able to see Qualcomm Stadium, Mt. Soledad in La Jolla, MIra Mar air-station, Gillespie Field in El Cajon, as well as the various peaks in the distant mountains including Lyons, Miquel, Viejas and the faint outline of San Antonio, San Jacinto and San Gabriel.  This vantage point at 1531 feet is the highest Peak in the City of San Diego and offers one of the if not the best view of the area .    After taking a twenty minute break for gatorade and a snack bar we head down the more “traditional” descent from the Cowles Mtn summit and the familiar rocky cragged trail.    Be careful in this section of the descent as ive heard more than one story about twisted ankles and falls.  As you continue the descent you will join up with the Barker Way, Big Rock Rd. sign that alerts you to switch trails and head back towards the original trailhead start.  Once you change trails you will come to the same service road taken on the ascent and a much less strenuous travel this time around.  Not long after being on the service rd you will meet up with a fence line and the entrance to the Big Rock Rd trail that will lead you back to the trailhead beginning.  This route back was a shade less mileage wise than the ascent  and totalled about 2.3 miles.  Speaking of shade, the day we did this hike gray skies at 10am gave us 75 degrees, at the end of our hike at about 12:45 back at the car it was 95 degrees.  However, it did not seem that hot as previous times I’ve hiked Cowles, but as always makle sure you bring plenty of water, at least 75 oz., and a few snacks to keep yourself hydrated and recharged on this somewhat arid hike.

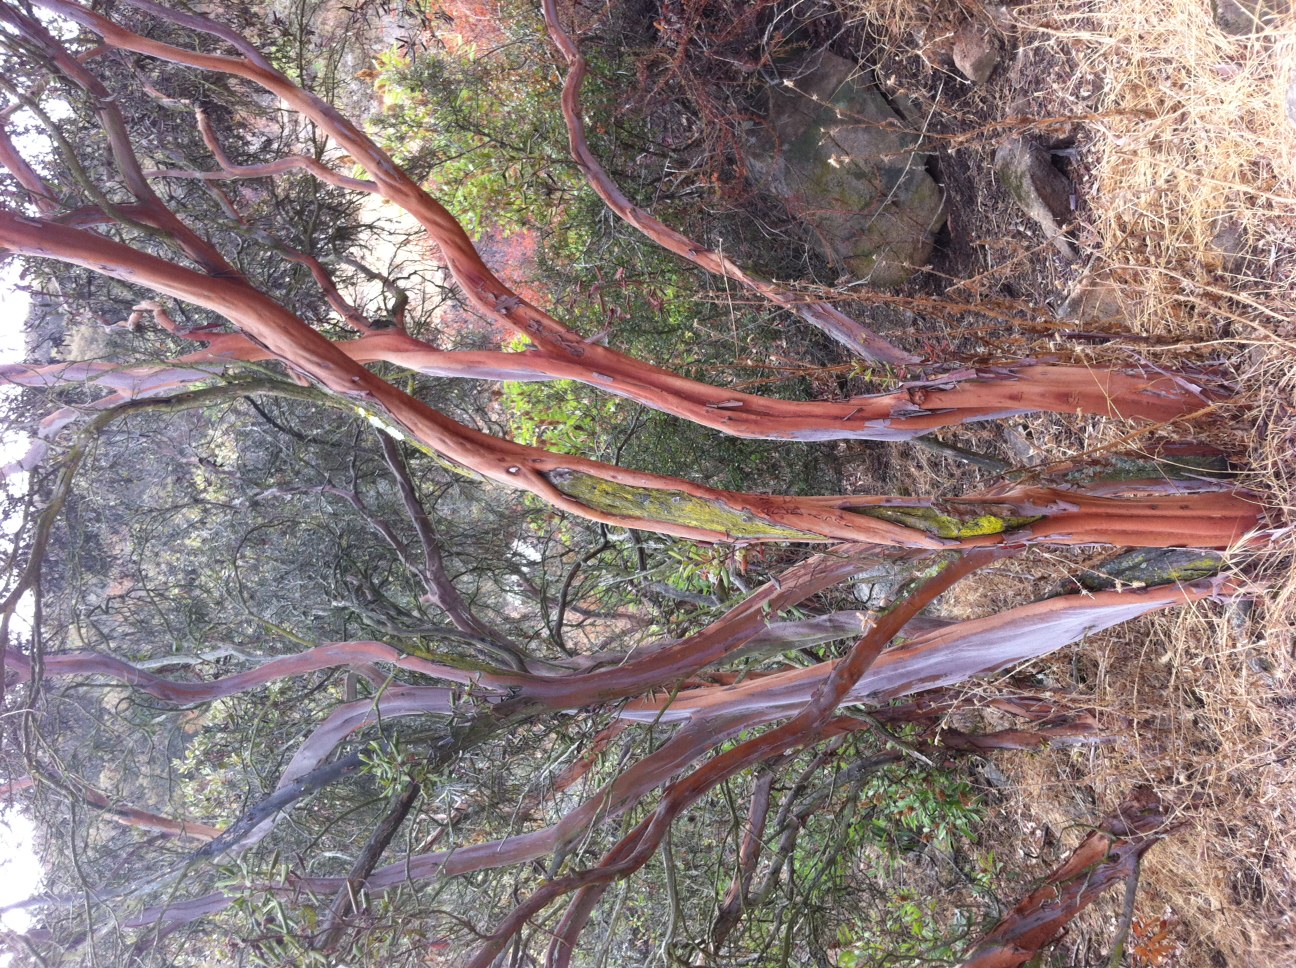
Manzanita Tree


Cowles Mountain always offers a good challenege a scenic route and a summit that provides sweeping views of our county and the city of San Diego.  The Big Rock Road trailhead is a preffered start to the Cowles Mountain hike and besides the Barker Way start one I highly suggest.  Next I’ll have to do the Mesa Rd trailhead start to comnplete the four routes available.  I Always like what MIssion Trails Reginoal Park has to offer, and Cowles does not dissapoint and always lives up to its reputation as a saught out trail among avid hikers in san Diego both young and old.


Cowles Mountain/Pyles Peak, San Diego, CA; Hiker Therapy

A hike I absolutely would suggest is the Cowles Mountain to Pyle’s Peak trail. By adding the Pyle’s Peak link to the hike you will be increasing the difficulty of the hike but you will also be adding a sense of peacefulness and beauty as well.

Hiking much like life, if it’s easy it more than likely lacks reward!

I would say that 95% of those who hike to the summit to Cowles, end the journey there, descent aside. In fact on my way over to Pyle’s only two other hikers shared the trail. I attribute that to the fact that the added piece of the Pyle’s Peak is relatively unknown as well as an additional challenge.

This is my second attempt at this hike, heat and lack of water shortened the journey from Cowles Mountain to Pyle’s Peak back in March 2012, when the temp was in the 90’s. One thing I have learned in the past five months of my hiking adventures, bring enough water and even more!  So getting to the destination of Pyle’s Peak via Cowles Mountain has been in the back of my mind as a peak to conquer!

Cowles Mountain Trail

The “main” or most popular trail-head to Cowles can be reached at Golfcrest Drive and Navajo Road. visitor’s center is located there with information, Restrooms and water.  However, to avoid 90% of the crowd I always choose the east trail-head off of Barker Way.  This trail has twenty-five switchbacks over 1.05 miles to its intersection with the main trail that continues to the summit of Cowles, which is at 1592 feet and makes it the highest point in the City of San Diego.

The trail up Cowles is at times rocky but for the most part is compacted earth that is well traveled and marked. After the 1.5 mile climb to Cowles Mountain summit, a short walk down the service road to the Pyles Peak trail-head begins just a hundred feet short of the summit marker. sign on the left turns you down some steps which leads to the Pyle’s Peak trail-head sign.  The trail beginning actually ascends for about 1/4 of a mile before beginning an elongated up and down hike.  This portion of the

Cowles/Pyle’s hike for me signified two distinct hikes within a hike. Whereas the Cowles Mountain ascent called upon my strength and stamina, the Pyle’s peak portion of the hike though challenging in spots, offered me a sense of calm and serenity.

Isn’t that how life is as well? At times we are challenged by the day to day, being pushed to our limits, but then we are given the opportunity to stop, recharge and slow down the pace.

As you come across a sign that says “Viewpoint” you have about a 1/4 mile to go to the summit of Pyle’s Peak. The trail to Pyle’s branches off to the right and begin’s a pretty steep incline to the summit.  Once you come the crest of the “hill”, you have made it, you have reached Pyle’s Peak which is land marked by a very good size boulder!

Summit Of Pyle’s Peak!

This hike will offer you a lot of variance, other’s who share your desire to hike, and a physical fitness challenge along with a strong sense of accomplishment and mental health well being.

Distance:  6 miles

Hike Date and Time: Tuesday May 29, 2012. Started at 10:40AM returned at 1:40PM 3 hours

Hike-ability: Cowles Mountain was my very first hike and although I was in good shape, I was not in hiking shape compared to now. Then I would rate it a moderate hike, now I would rate it a easy moderate hike. Very doable either way.

Food and Water: This hike always seems hot to me whenever I go. Temperature was around 80 degrees, bring lot’s of water. I had 50 Ounces of water and bottle of gatorade. I also brought an orange and lunch.